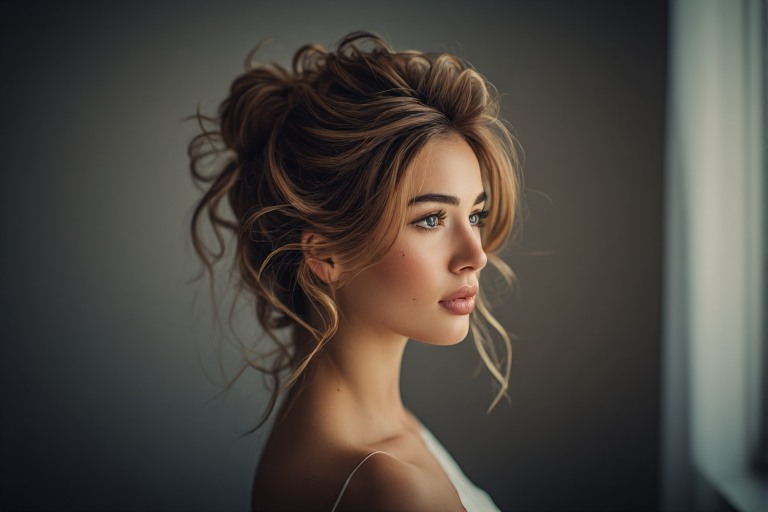
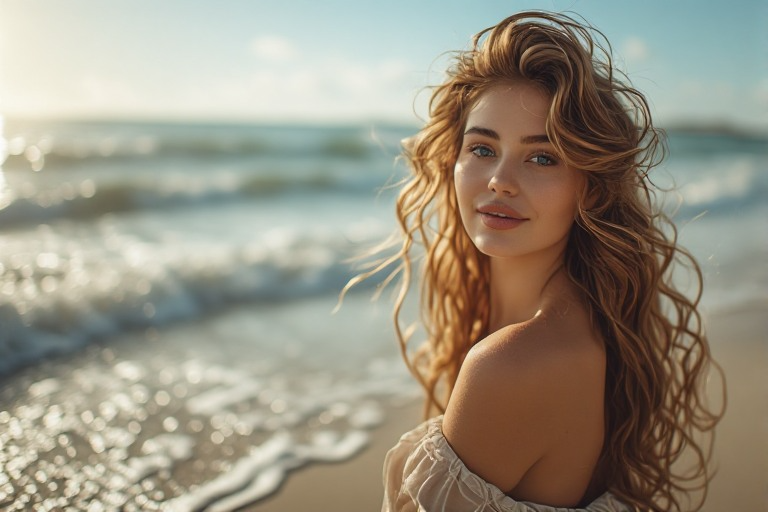
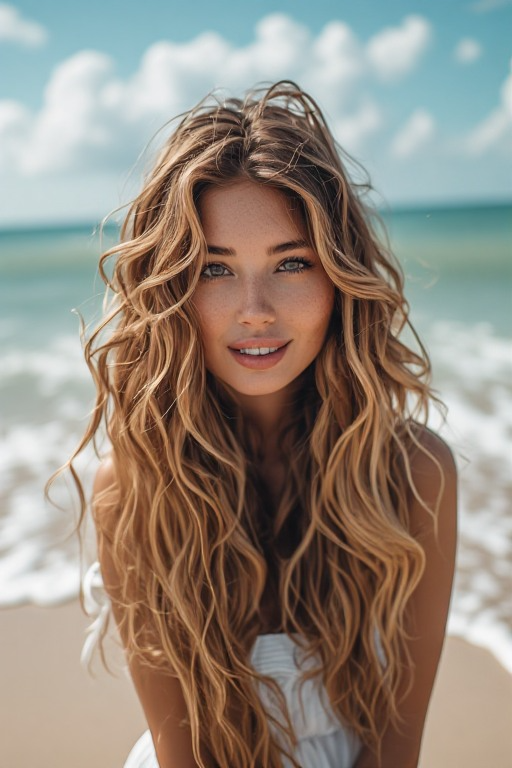
How to Do Perfect Beach Waves at Home — Step-by-Step Tutorial for Beginners
There’s something about beach waves that never goes out of style. They look effortless, relaxed, and just the right amount of polished without feeling overly done. Whether you’re heading to brunch, a date night, or simply want an everyday hairstyle that looks amazing, beach waves are always a good idea.
The best part? You don’t need a professional stylist or expensive salon appointments to get gorgeous beach waves. With the right technique and a few simple tools, you can create soft, natural-looking waves right at home.
If you’ve been searching for the perfect beach waves hair tutorial, this beginner-friendly guide will walk you through every step.
Why Beach Waves Are So Popular
Beach waves work on almost every hair length and texture. They add movement, volume, and texture without looking too perfect or stiff.
Some reasons women love this hairstyle include:
- Easy to dress up or down
- Adds instant volume
- Looks great on most face shapes
- Works for casual and formal events
- Creates that effortless “I woke up like this” vibe
What You’ll Need
Before starting this beach waves hair tutorial, gather a few essentials:
- Heat protectant spray
- Curling wand or curling iron (1-inch barrel works best)
- Hair clips
- Texturizing spray
- Light-hold hairspray
- Wide-tooth comb or fingers
Using heat protection is especially important if you style your hair regularly. It helps minimize damage while keeping your hair healthy and shiny.
Step 1: Start With Dry Hair

Beach waves work best on completely dry hair. If your hair is freshly washed, let it air dry or blow dry it first.
Freshly washed hair can sometimes be too soft and slippery. Adding a little texturizing spray beforehand helps the waves hold longer throughout the day.
Step 2: Apply Heat Protectant
Spray heat protectant evenly from roots to ends.
This creates a protective barrier between your hair and the hot styling tool. It can also help reduce frizz and improve shine, giving your finished waves a smoother appearance.
Step 3: Section Your Hair
Divide your hair into manageable sections.
For thicker hair, create three or four sections. If your hair is fine, two sections may be enough. Use clips to keep everything organized while you work.
This simple step makes styling much faster and ensures every section gets equal attention.
Step 4: Curl Away From Your Face
Now it’s time to create the waves.
Take a one-inch section of hair and wrap it around the curling wand, leaving about one inch of the ends out. Hold for 5 to 10 seconds before releasing.
For the most flattering effect:
- Curl away from your face
- Alternate curl directions occasionally
- Leave the ends straight
- Avoid wrapping hair too tightly
Leaving the ends out creates that relaxed beachy texture instead of traditional tight curls.
Step 5: Let the Curls Cool
This step is often skipped, but it makes a huge difference.
Allow each curl to cool completely before touching it. Cooling helps the hair set and hold its shape much longer.
If you’re in a hurry, clip each curl loosely while it cools.
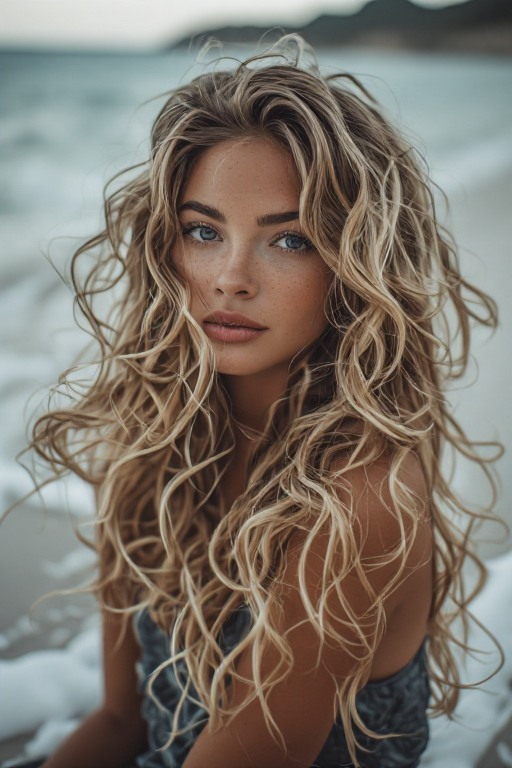
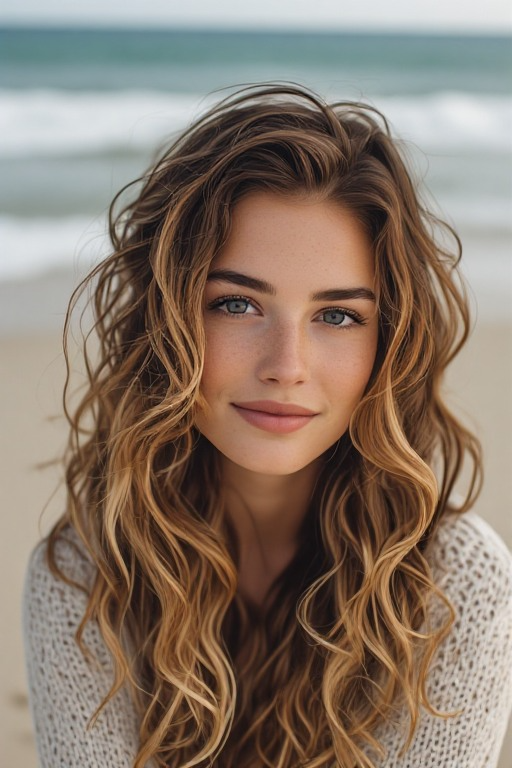
Step 6: Break Up the Curls
Once all your hair has cooled, gently run your fingers through the curls.
Avoid using a brush because it can make the style look overly fluffy or frizzy. Instead, separate the curls slowly with your fingertips until you achieve soft, loose waves.
This is where your hairstyle transforms from curled hair into beautiful beach waves.
Step 7: Add Texture

The secret behind every Pinterest-worthy beach wave look is texture.
Spray a texturizing spray throughout your hair, focusing on the mid-lengths and ends.
Then gently scrunch your hair with your hands. This creates that slightly tousled, lived-in appearance that makes beach waves look so effortless.
Step 8: Lock Everything In Place
Finish with a light mist of flexible-hold hairspray.
You want movement, not stiffness. A lightweight formula keeps your waves soft while helping them last throughout the day.