How to Contour and Highlight for Beginners — Step by Step for a Snatched, Glowy Look
Let’s be real for a second — contouring can feel so confusing at first. You watch tutorials, and somehow everyone makes it look effortless… but when you try it, you end up with harsh lines or muddy cheeks.
If you’ve ever felt like contour and highlight just isn’t for you, I promise it’s not your fault. You just need a simple, beginner-friendly method that actually works in real life (not just on camera).
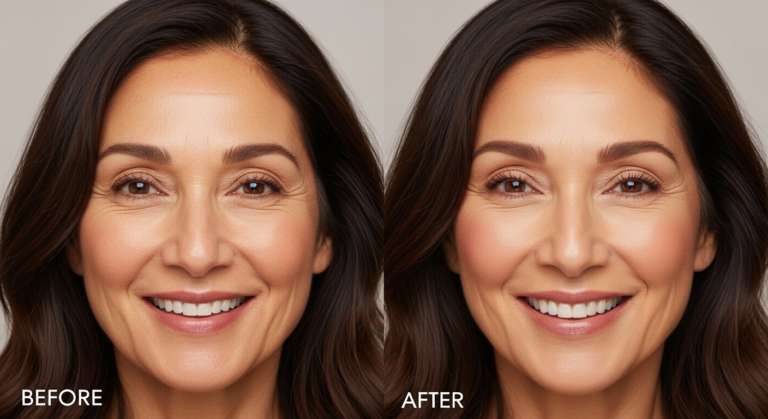
This contour and highlight tutorial is going to break it down step by step so you can sculpt your face, add glow, and still look natural. Once you get this down, your makeup routine will never be the same.
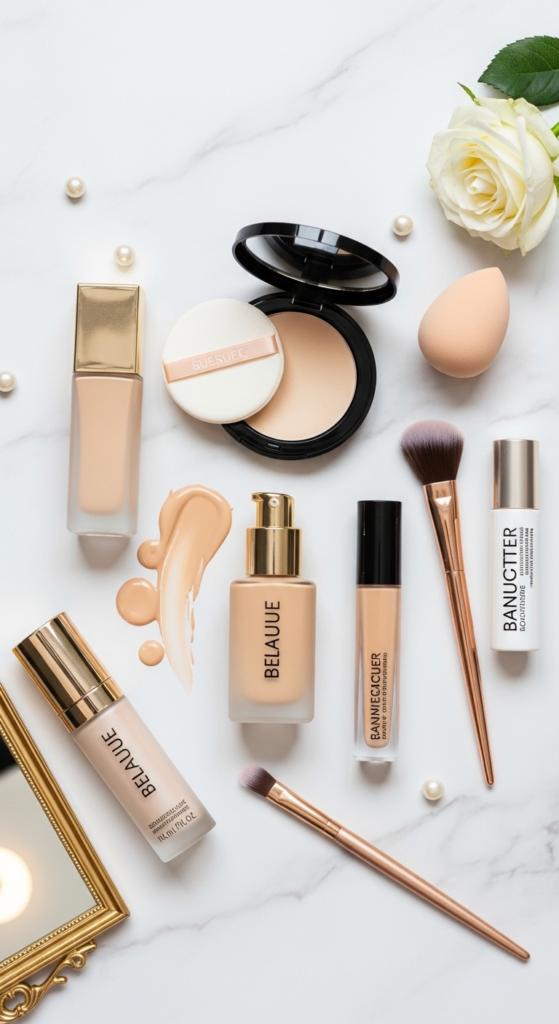
What You Need Before You Start
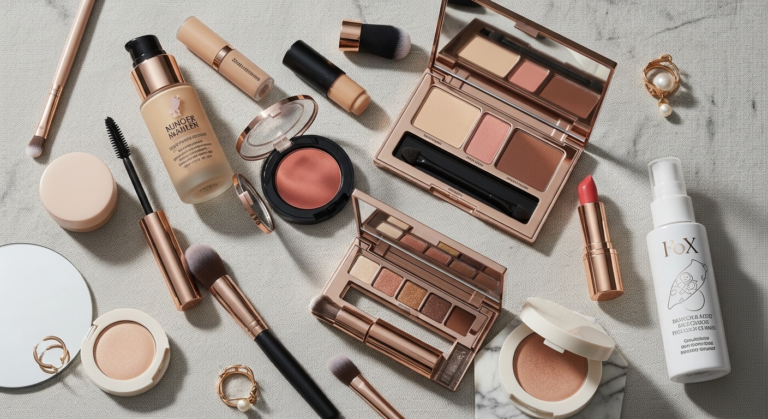
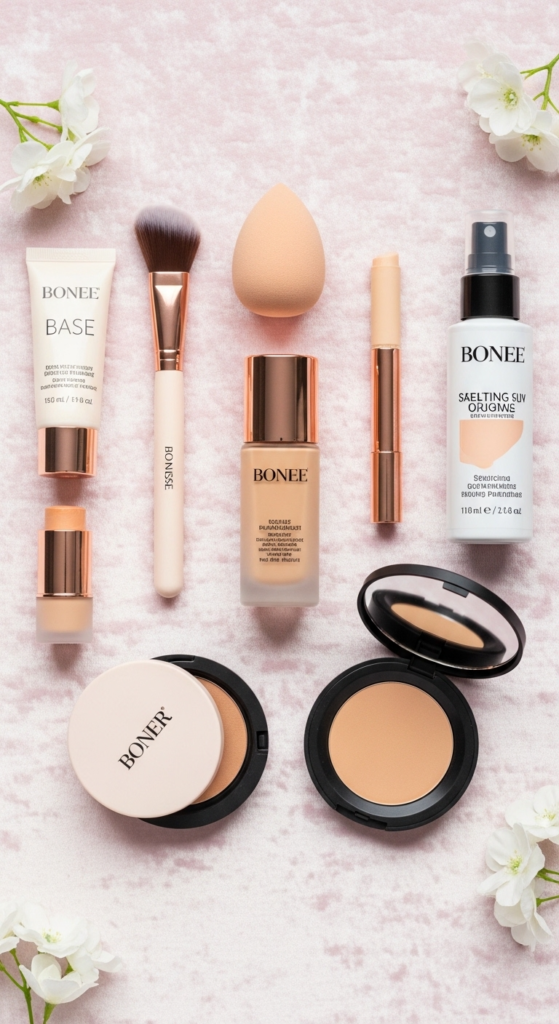
Before we jump into the steps, let’s make sure you have the basics. You don’t need a million products — just a few good ones.
For contour:
- A cream or powder contour 1–2 shades darker than your skin tone
- Matte finish (no shimmer!)
For highlight:
- A highlighter (cream or powder) with a soft glow
- Champagne or gold tones work best for most skin tones
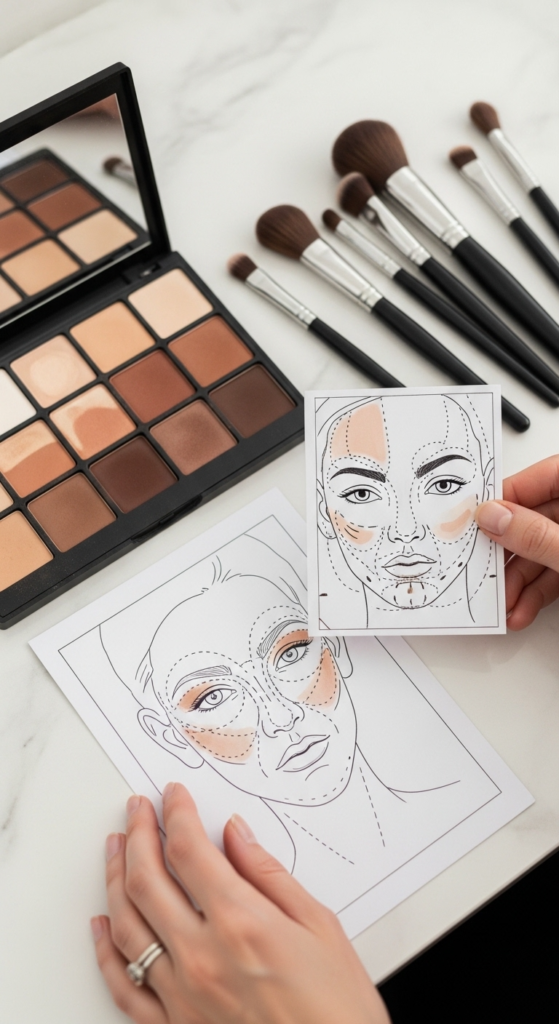
Tools:
- Makeup sponge or blending sponge
- Fluffy brush for powder products
- Angled brush for contour
The right tools make everything easier, trust me.
Step 1: Start With Your Base Makeup
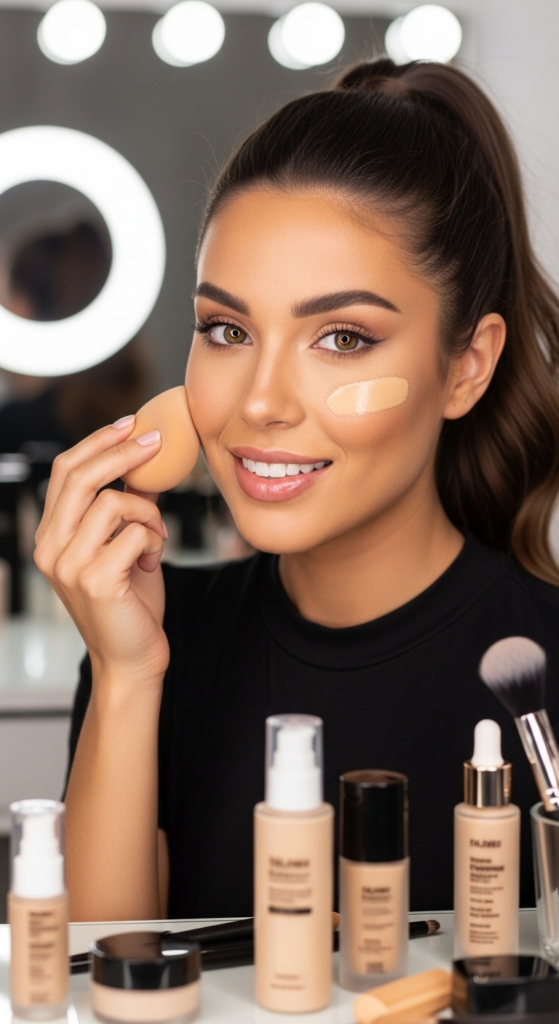
Before contouring, apply your foundation and concealer as usual.
Make sure everything is blended well and still slightly dewy — this helps your contour blend smoothly instead of looking patchy. This step sets the stage for the entire contour and highlight tutorial.
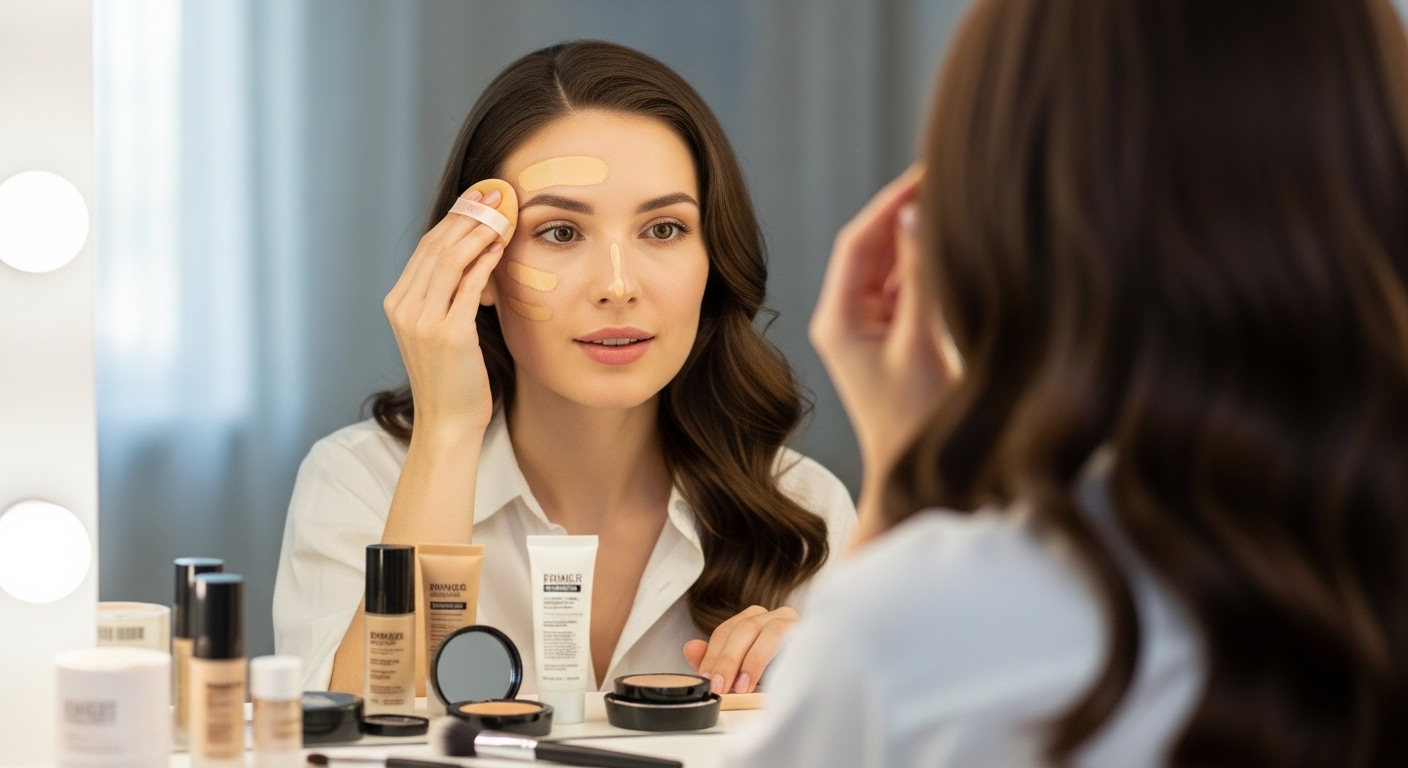
Step 2: Map Out Your Contour Areas
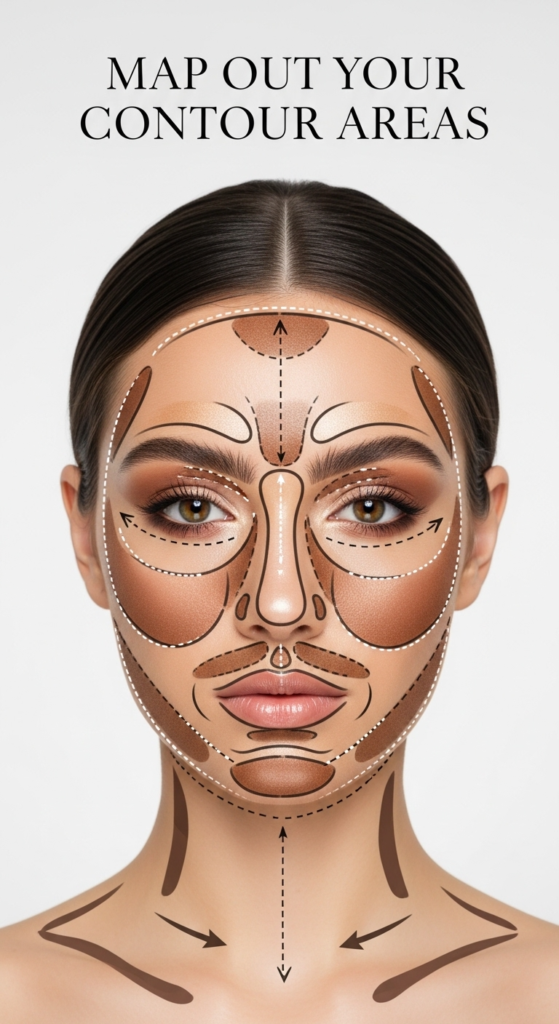
This is where most beginners get nervous, but it’s actually super simple once you know where to place it.
Apply contour to:
- The hollows of your cheeks
- The sides of your nose
- Your forehead near the hairline
- Along your jawline
Think of contour as creating shadows. You’re adding depth to shape your face naturally.
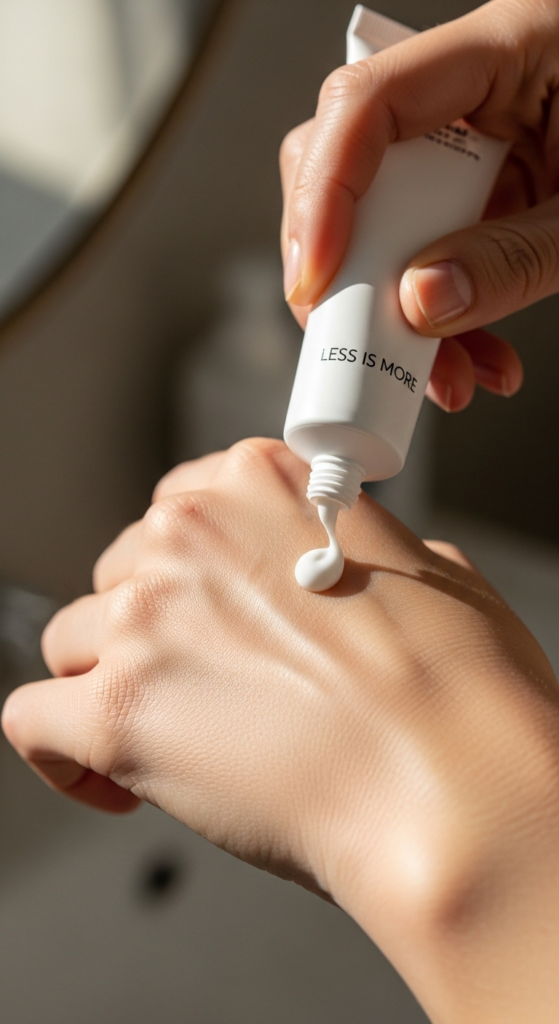
Step 3: Don’t Apply Too Much Product

This is a big one. It’s easier to build product than to remove it.
Start with a small amount of contour and blend it out. You can always go back and add more if needed.
Step 4: Blend (This Is Everything)
If you take one thing from this contour and highlight tutorial, let it be this: blending is EVERYTHING.
Use a damp sponge or brush and blend upward, especially on your cheeks. This lifts your face instead of dragging it down.
No harsh lines. No streaks. Just soft, natural shadows.
Step 5: Add Your Highlighter in the Right Spots
Now for the fun part — glow ✨
Apply highlighter to:
- The tops of your cheekbones
- The bridge of your nose
- The tip of your nose
- Your brow bone
- Your cupid’s bow
This catches the light and gives your skin that radiant, glowy finish.
Step 6: Choose the Right Formula for Your Skin Type

Not all products work the same for everyone.
- Oily skin: Powder contour and powder highlighter work best
- Dry skin: Cream products give a more natural, dewy finish
Using the right formula makes your contour and highlight look seamless instead of cakey.
Step 7: Blend Highlight Into Your Skin (Not On Top)
Highlighter should melt into your skin — not sit on top like glitter.
Use your fingers or a sponge to gently tap it in. This creates a soft, lit-from-within glow instead of a harsh shine.
Step 8: Set Everything Lightly

Once you’re happy with your contour and highlight, set your makeup.
Use a light dusting of powder in areas that crease or get oily. Then finish with a setting spray to lock everything in while keeping that glow.
Step 9: Adjust Based on Your Face Shape
Not every face is the same, and that’s a good thing.
- Round face: Focus contour slightly higher on the cheeks to lift
- Long face: Add less contour on the forehead
- Square face: Soften the jawline with gentle blending
This step helps you customize the contour and highlight tutorial to fit your features.
Step 10: Practice Makes It Easier (I Promise)
Your first try might not be perfect — and that’s okay.
Contouring is a skill. The more you practice, the more natural it becomes. After a few tries, you’ll start doing it without even thinking.