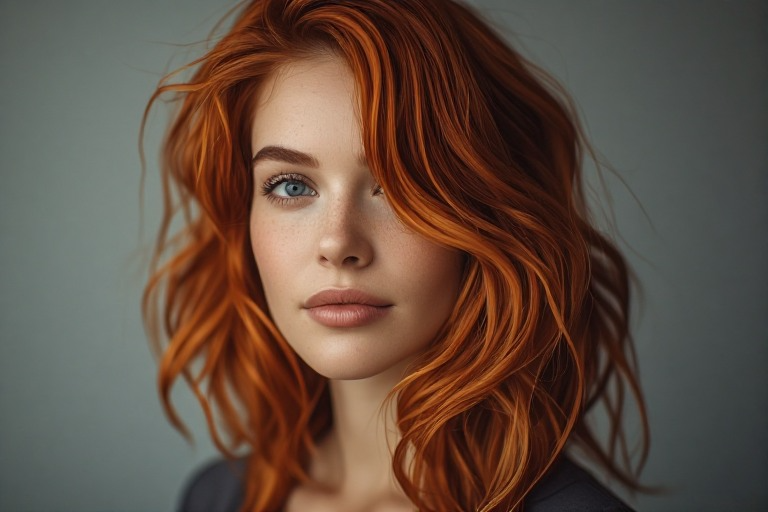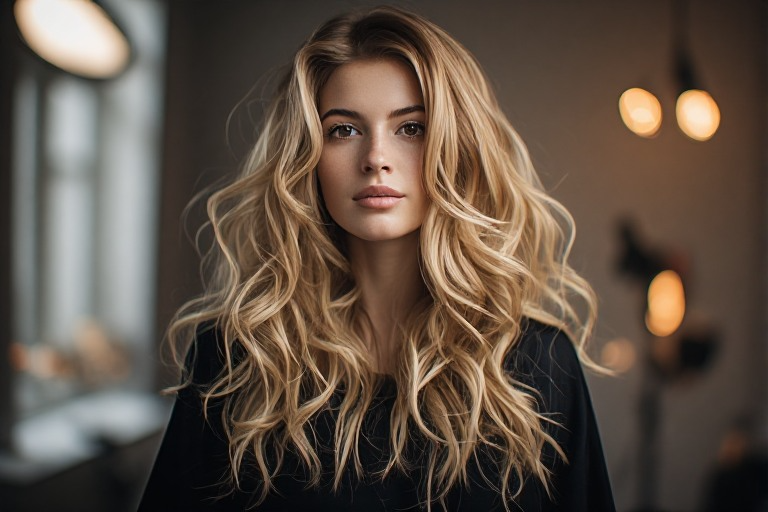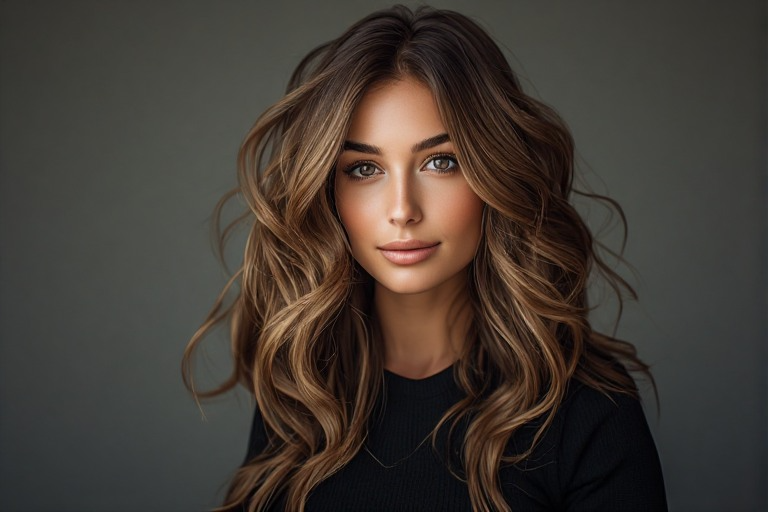
How to Get Beachy Waves at Home — Step-by-Step for Effortless, Salon-Worthy Hair
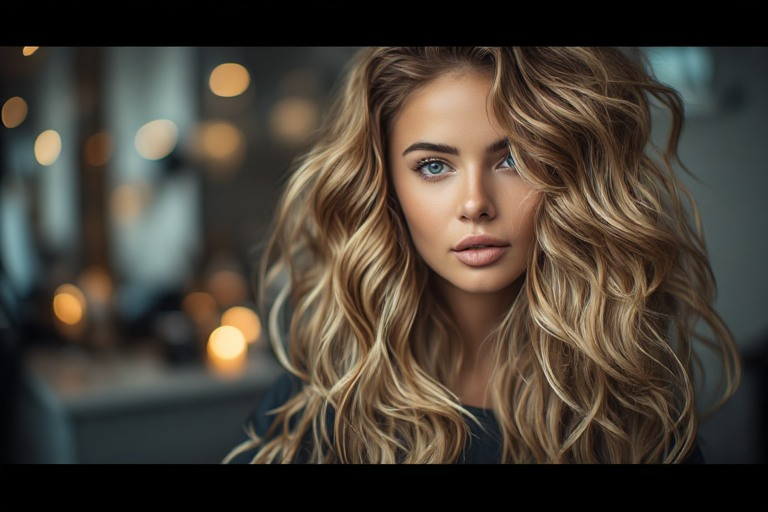
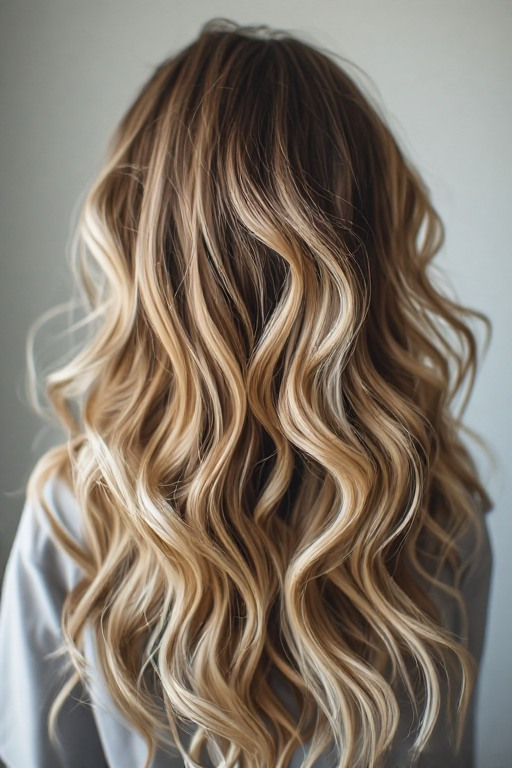
There’s something about beachy waves that instantly makes your hair look more expensive. They’re soft, effortless, and somehow manage to look polished and relaxed at the same time.
The best part? You don’t need a tropical vacation or a professional hairstylist to get them. Learning how to get beachy waves at home is actually much easier than most people think, and you can create the look with tools you probably already own.
Whether your hair is long, short, thick, or fine, this guide will show you exactly how to create those perfectly undone waves that are all over Pinterest, TikTok, and Instagram.
Why Beachy Waves Never Go Out of Style
Beachy waves work because they add texture, movement, and volume without looking overly styled.
They are perfect for:
- Everyday wear
- Date nights
- Brunch with friends
- Weddings and special events
- Vacation looks
- Work-friendly hairstyles
Unlike tight curls, beachy waves have a relaxed finish that flatters almost every face shape and hair type.
What You’ll Need
Before you start, gather a few essentials:
- Heat protectant spray
- Hair clips
- Curling iron or flat iron
- Texturizing spray
- Light-hold hairspray
- Wide-tooth comb
- Dry shampoo (optional)
Using the right products makes a huge difference in how long your waves last.
Step 1: Start With Clean, Dry Hair
The first step in how to get beachy waves at home is preparing your hair correctly.
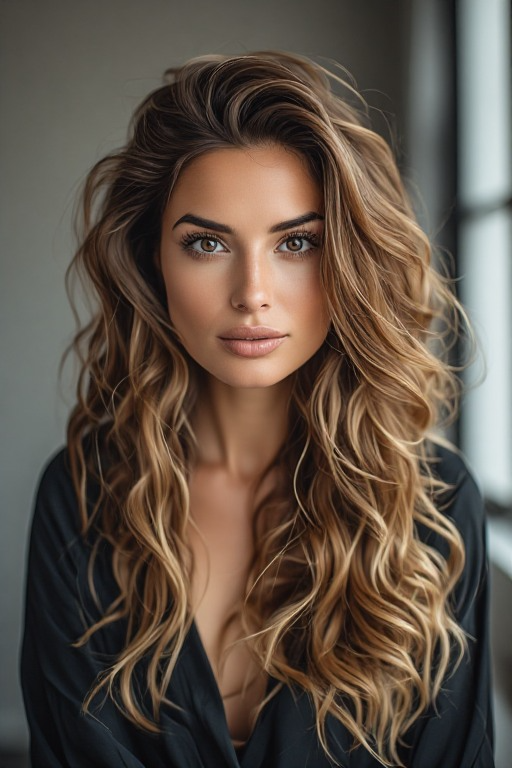
Freshly washed hair works well, but hair that’s one day old often holds waves even better. If your roots feel oily, spray a little dry shampoo at the crown for added volume and grip.
Make sure your hair is completely dry before using any hot tools.
Step 2: Apply Heat Protectant
Never skip this step.
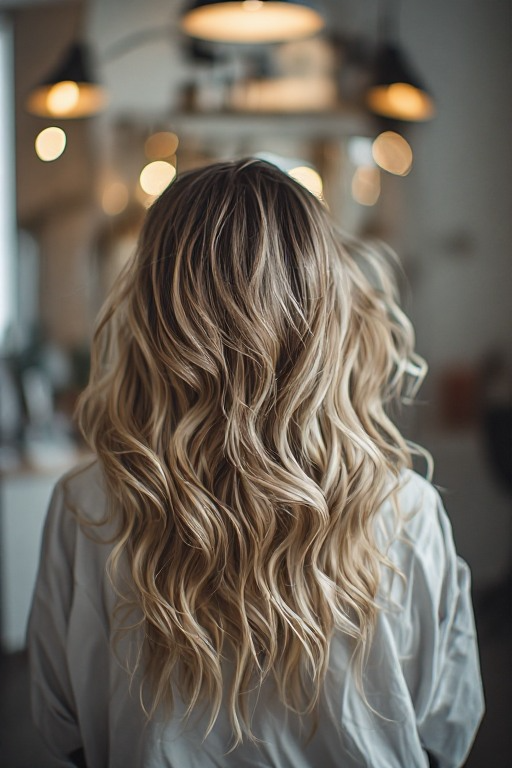
Heat styling can cause dryness, breakage, and split ends over time. Spray a generous amount of heat protectant throughout your hair and brush it through evenly.
This helps keep your strands healthy while also creating a smoother finish.
Step 3: Section Your Hair
Divide your hair into manageable sections.
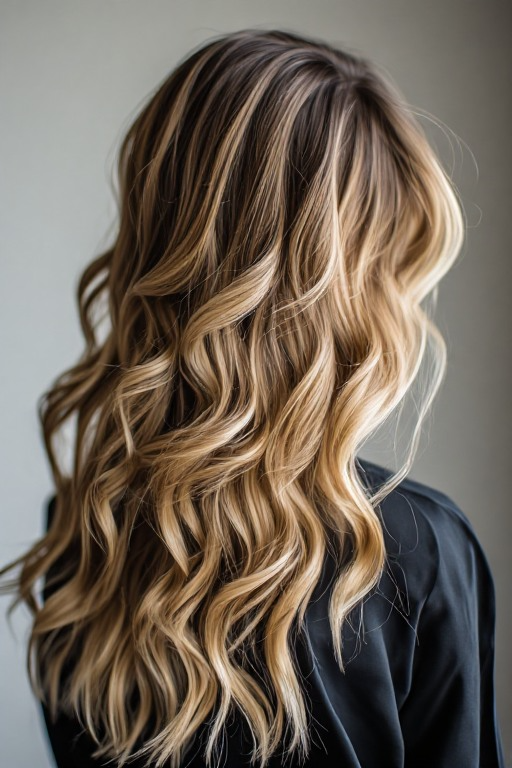
Try this simple method:
- Split hair into top and bottom sections.
- Clip the top section away.
- Work on the bottom section first.
- Release more hair as you go.
Smaller sections create more defined waves, while larger sections create a softer look.
Step 4: Create Waves With a Curling Iron
A curling iron is one of the easiest ways to achieve beachy waves.
How to Do It
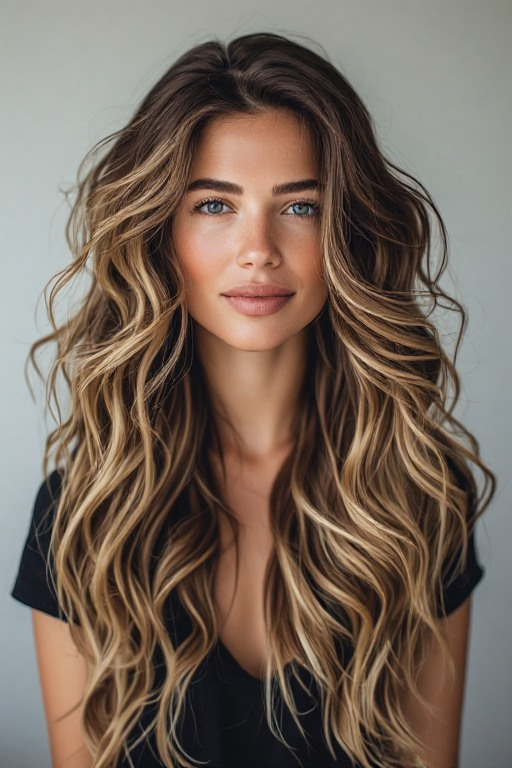
- Take a 1-inch section of hair.
- Wrap it around the barrel.
- Leave the last inch of hair out.
- Hold for 5 to 10 seconds.
- Release gently.
The secret to natural-looking waves is leaving the ends straight. This creates that effortless, beach-inspired finish.
Alternate Directions
Curl one section away from your face.
Then curl the next section toward your face.
Alternating directions keeps the waves from blending into one giant curl and creates a more natural texture.
Step 5: Create Beachy Waves With a Flat Iron
Don’t have a curling iron? No problem.
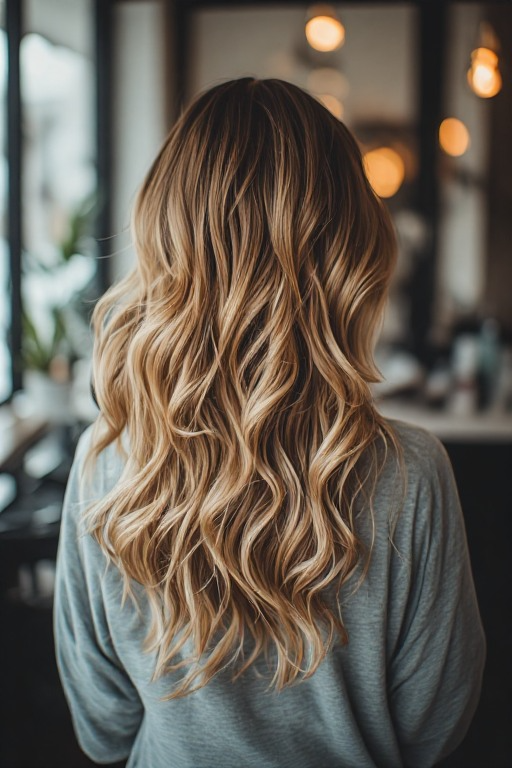
A flat iron can create beautiful beachy waves too.
Here’s How
- Clamp the flat iron near the root.
- Twist it away from your face.
- Slowly glide it down the hair shaft.
- Repeat throughout your hair.
The slower you move, the more defined the wave becomes.
This technique may take a little practice, but once you get it down, it’s incredibly fast.
Step 6: Let the Waves Cool
One of the biggest mistakes people make is touching their hair too soon.
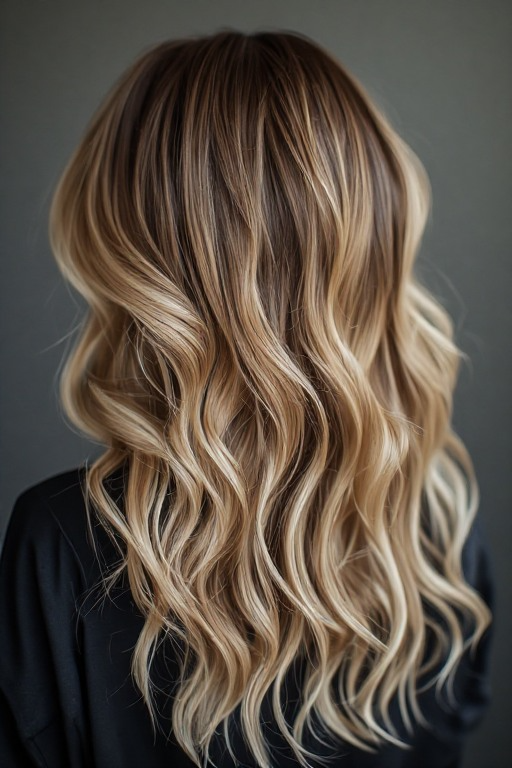
Fresh curls need time to cool and set.
After curling, leave your hair alone for about 5 to 10 minutes. This helps the waves last much longer throughout the day.
Step 7: Break Up the Waves
This is where the magic happens.
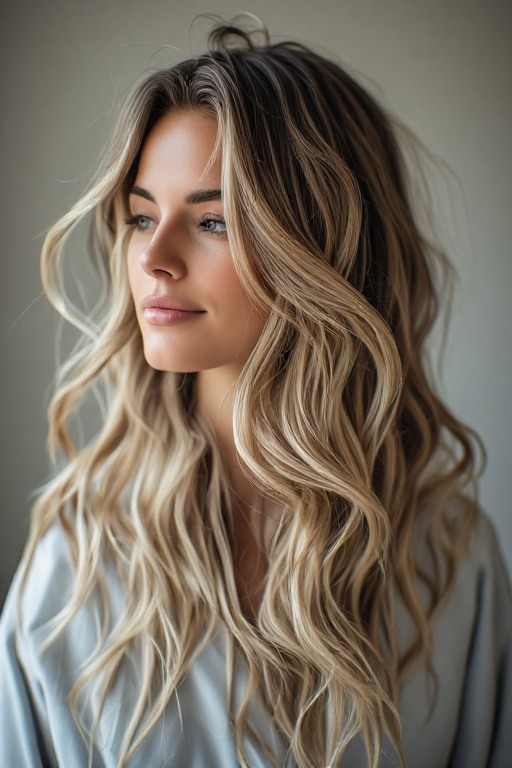
Use your fingers or a wide-tooth comb to gently separate the curls.
Avoid using a regular brush because it can create frizz and remove definition.
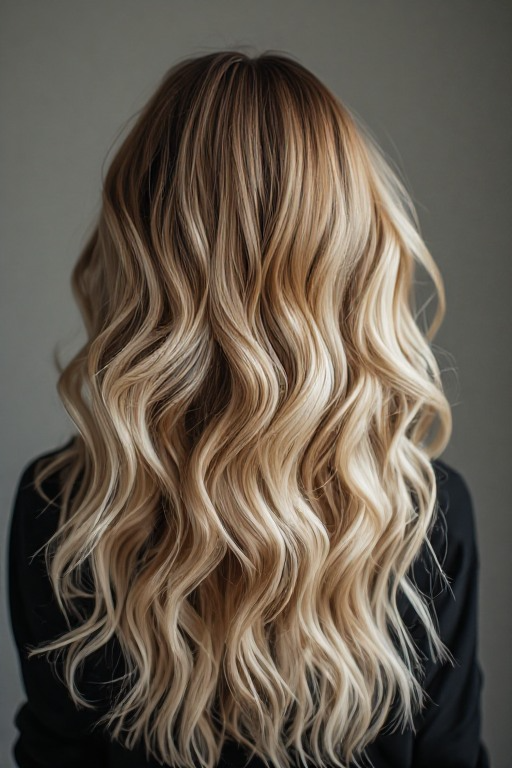
Your hair should now look soft, relaxed, and naturally tousled.
Step 8: Add Texture
Beachy waves are all about texture.
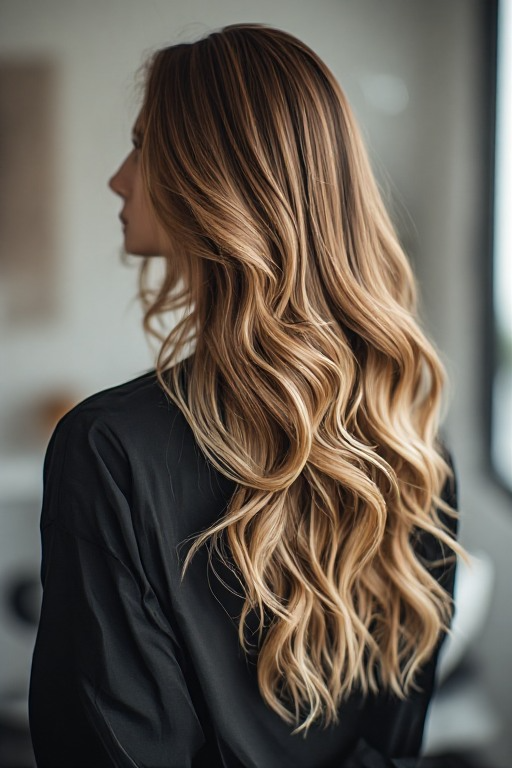
Spray a texturizing spray through the mid-lengths and ends of your hair.
Then scrunch lightly with your hands.
This adds volume, movement, and that slightly messy finish that makes beachy waves look so effortless.
Step 9: Lock Everything In Place
Finish with a light-hold hairspray.
You don’t want your hair to feel stiff or crunchy.
A flexible hairspray keeps the waves intact while still allowing movement.
The goal is touchable, soft hair that stays gorgeous all day.