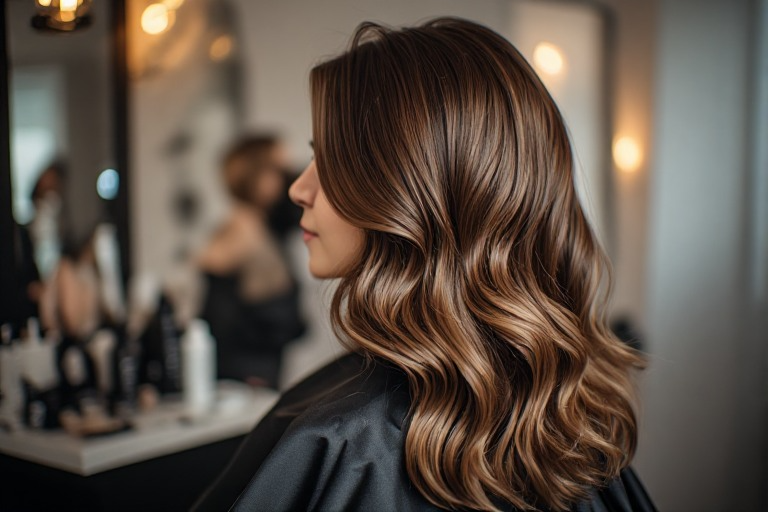
How to Do a Blowout at Home — Step by Step for Salon-Worthy Hair
If you’ve ever walked out of a salon with that bouncy, shiny, perfectly smooth hair and thought, “I wish I could do this myself,” you’re definitely not alone. A professional blowout can make your hair look healthier, fuller, and more polished in just one appointment.
The good news? Learning how to do a blowout at home is much easier than most people think. With the right tools, a few simple techniques, and a little practice, you can create that expensive salon look without spending money every week.
Whether you want extra volume, smooth strands, or that gorgeous supermodel bounce, this step-by-step guide will help you master the perfect at-home blowout.
What You’ll Need for a Home Blowout
Before you start, gather the right tools. Having quality products makes a huge difference in your final results.
Essential Blowout Tools
- Hair dryer with nozzle attachment
- Round brush
- Heat protectant spray
- Hair clips
- Lightweight styling cream or mousse
- Hair oil or shine serum
- Cool-shot setting on your dryer
Why These Tools Matter
The nozzle attachment directs airflow exactly where you need it, helping smooth the hair cuticle. A round brush creates volume and movement, while heat protectant helps prevent damage and keeps your hair looking healthy.
Step 1: Start With Freshly Washed Hair
A successful blowout begins in the shower.
Choose a volumizing shampoo if your hair tends to fall flat. If your hair is dry or damaged, use a moisturizing shampoo and conditioner to add softness and shine.
Avoid applying heavy conditioners directly to your roots. This can weigh your hair down and reduce volume.
Pro Tip
Use a microfiber towel or soft cotton T-shirt to gently remove excess water. Rough towel drying can create frizz before you even start styling.
Step 2: Apply Heat Protectant
Never skip this step.
Heat protectant creates a barrier between your hair and high temperatures, helping reduce breakage, dryness, and split ends.

Spray evenly throughout damp hair, focusing on mid-lengths and ends. Comb through to distribute the product evenly.
Bonus Products to Consider
- Volumizing mousse for fine hair
- Smoothing cream for frizzy hair
- Leave-in conditioner for dry hair
These products help customize your blowout based on your hair type.
Step 3: Rough Dry Until 80% Dry
One of the biggest mistakes people make is reaching for the round brush too early.
First, use your fingers to lift and move your hair while blow-drying. Focus on removing most of the moisture before sectioning.
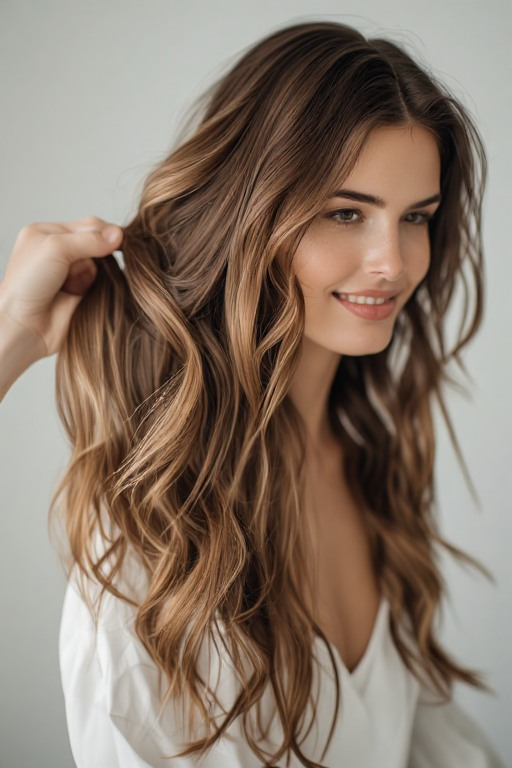
Your hair should be about 80% dry before you start using the round brush.
Why This Matters
Trying to style soaking wet hair takes longer and exposes your strands to more heat than necessary. Less heat means healthier, shinier hair over time.
Step 4: Divide Hair Into Sections
Sectioning makes the entire process easier and more professional-looking.

Use clips to divide your hair into:
- Bottom section
- Middle section
- Crown section
- Front sections
Working in smaller sections allows you to create smoother results and better volume.
Quick Tip
The smaller the section, the smoother and more polished your blowout will look.
Step 5: Begin Blow-Drying With a Round Brush
Now it’s time for the magic.
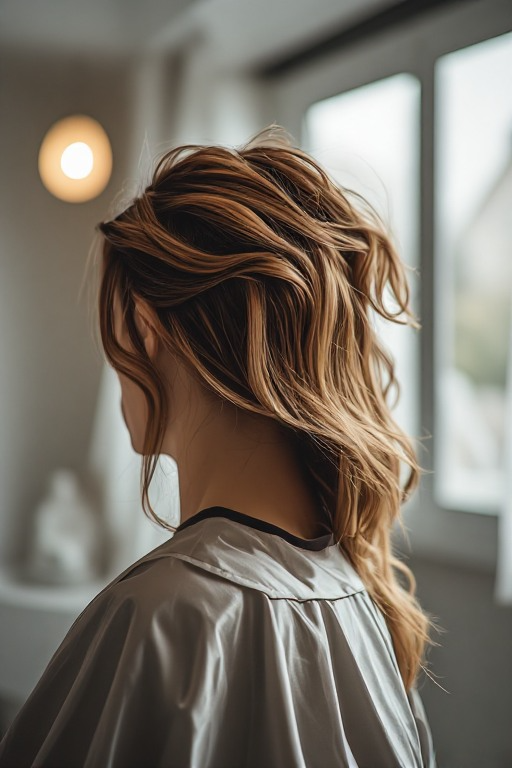
Place your round brush underneath a small section of hair near the roots. Aim the dryer downward and slowly pull the brush through the hair.
Keep tension on the section while following the brush with your dryer.
The Secret to Salon Shine
Always point airflow downward.
This helps flatten the hair cuticle, reducing frizz and creating that glossy salon finish everyone loves.
Step 6: Create Volume at the Roots
If you love that bouncy blowout look, root lift is essential.
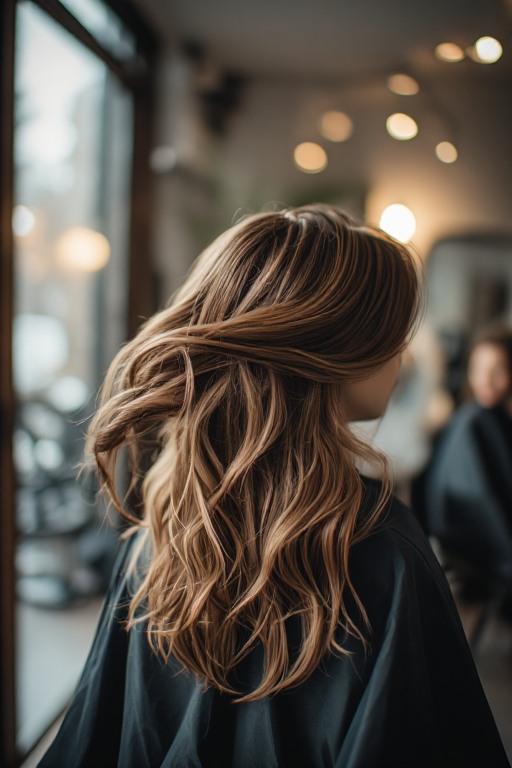
Wrap the hair around the round brush near the roots and lift upward while drying. Hold the brush in place for a few seconds before releasing.
Repeat throughout the crown area.
Best Areas to Focus On
- Crown
- Front hairline
- Top layers
These sections create the most noticeable volume and movement.
Step 7: Add Soft Curls and Bounce
The signature blowout look isn’t stick-straight.
As you reach the ends of each section, wrap the hair around your round brush and roll upward. Hold briefly while applying heat.
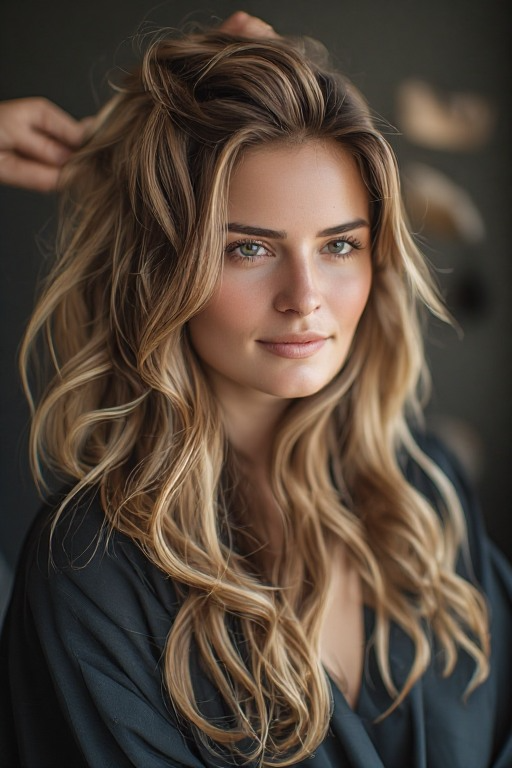
Slowly release the brush to reveal soft, bouncy movement.
For Extra Glam Volume
Roll each finished section into a loose curl and clip it while it cools. This trick helps the style last much longer.
Step 8: Use the Cool Shot Button

Many people skip this step, but it’s one of the biggest salon secrets.
After finishing each section, blast it with cool air for several seconds.
Why It Works
Heat shapes the hair, but cool air locks the style into place.
This helps your blowout maintain volume and bounce throughout the day.
Step 9: Finish With a Lightweight Serum
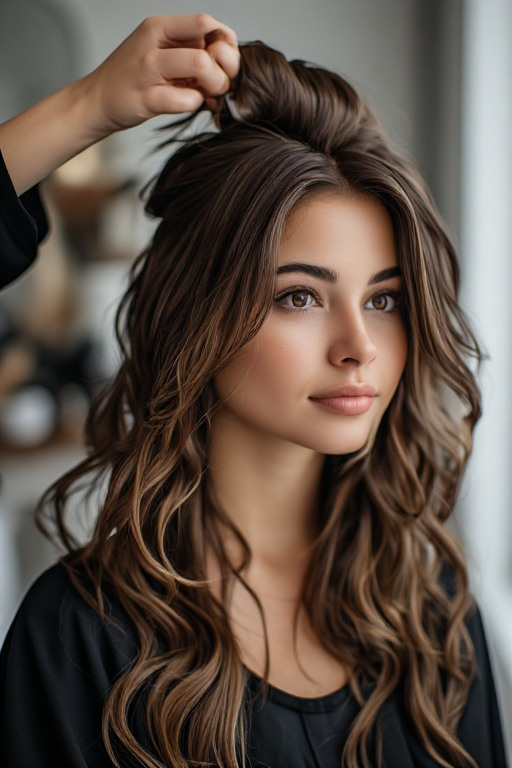
Once your entire blowout is complete, apply a small amount of shine serum or hair oil.
Focus only on the mid-lengths and ends.
Avoid Overdoing It
Too much product can make fresh hair look greasy. Start with a tiny amount and add more only if needed.
The goal is healthy shine, not oily hair.