
How to Do a Perfect French Manicure at Home — Step by Step for Beginners
If you’ve ever admired those clean, elegant French tips at the salon and thought, “There’s no way I can do that myself,” you’re not alone. A French manicure looks simple, but getting those crisp white tips can feel surprisingly tricky.
The good news? Learning how to do a French manicure at home is much easier than you might think. With the right tools, a little patience, and a few insider tricks, you can create a salon-worthy manicure without spending a fortune.
Whether you’re getting ready for a special event or simply love timeless nail looks, this step-by-step guide will help you master the classic French manicure from the comfort of your own home.
Why French Manicures Never Go Out of Style
French manicures have been popular for decades because they’re elegant, versatile, and flattering on everyone.
Unlike trendy nail art that comes and goes, a French manicure works for:
- Everyday wear
- Weddings
- Job interviews
- Date nights
- Vacations
- Special occasions
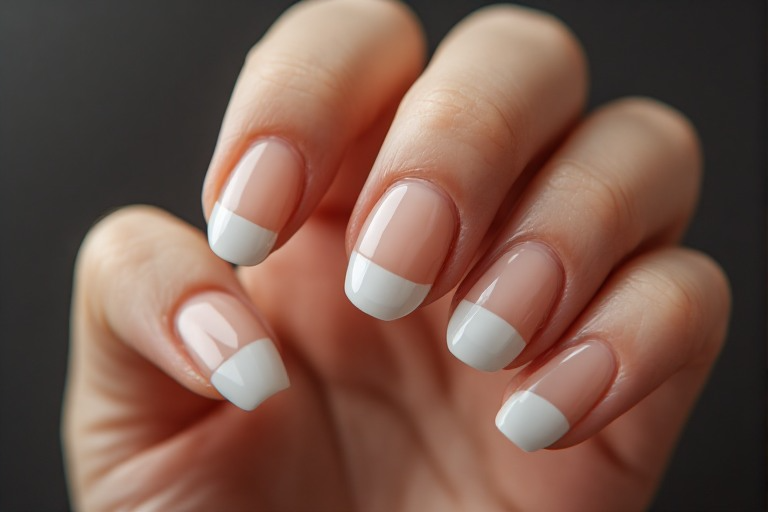
The soft pink base and bright white tips create a clean, polished look that matches every outfit.
What You’ll Need
Before you start, gather your supplies.
Essential French Manicure Tools
- Nail polish remover
- Cotton pads
- Nail clippers
- Nail file
- Cuticle pusher
- Base coat
- Sheer pink or nude polish
- White nail polish
- Top coat
- French tip guides (optional)
- Small cleanup brush
If you’re a beginner, French tip guides can make the process much easier.
Step 1: Remove Old Polish
Start with completely clean nails.
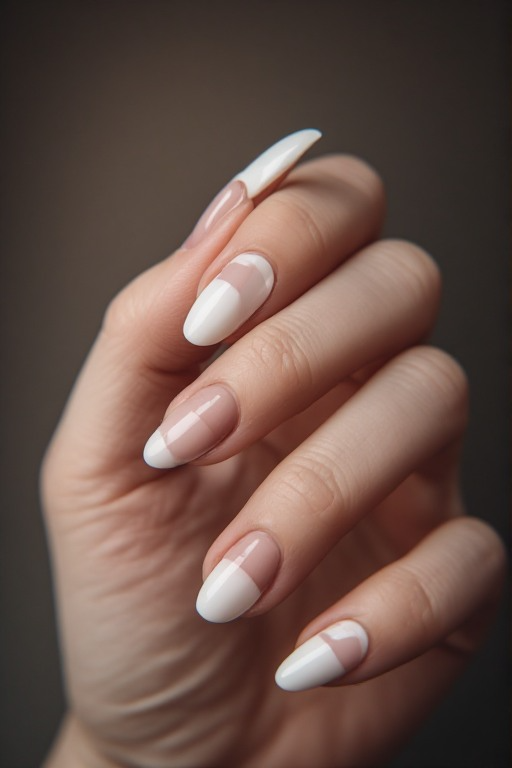
Use nail polish remover to eliminate any old color, oils, or residue. Even if your nails are bare, this step helps the polish adhere better and last longer.
Clean nails create the perfect foundation for a long-lasting manicure.
Step 2: Shape Your Nails
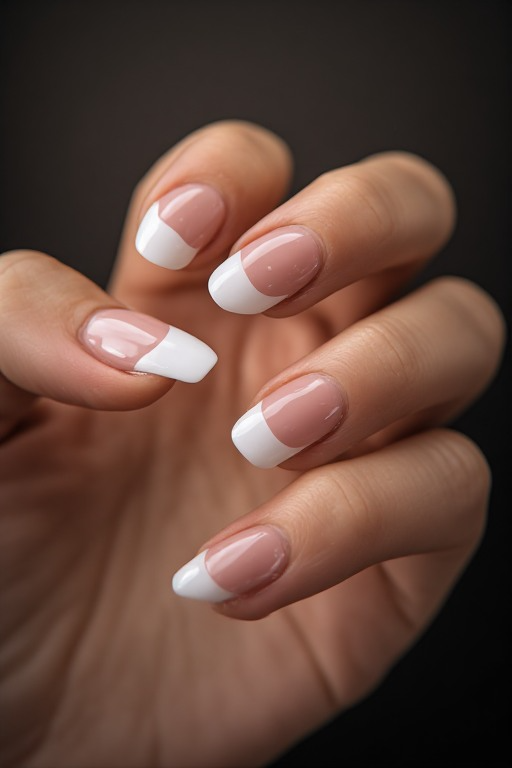
French manicures look best when your nails have a neat, uniform shape.
Popular nail shapes include:
- Square
- Squoval (square with rounded edges)
- Oval
- Almond
Use a nail file to smooth the edges and make all nails consistent in length.
A balanced shape instantly makes your manicure look more professional.
Step 3: Prep Your Cuticles
Soak your fingertips in warm water for a few minutes.
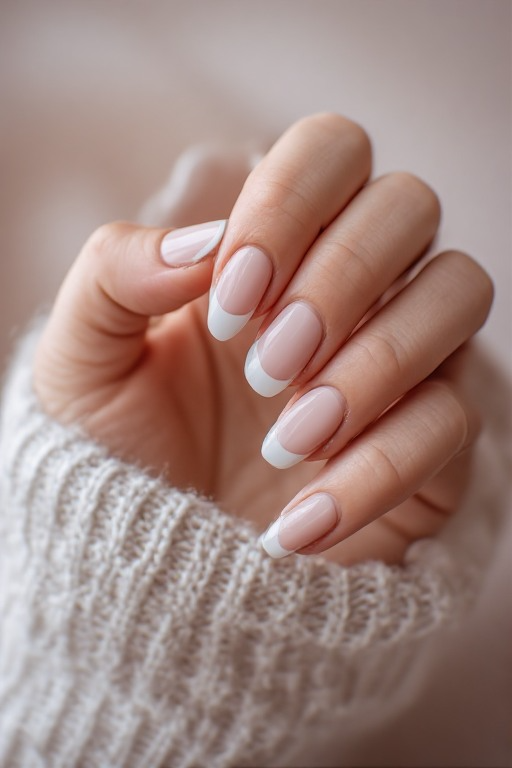
Gently push back your cuticles using a cuticle pusher. Avoid cutting them unless absolutely necessary.
Clean cuticles help your nails appear longer and create a polished salon-quality finish.
Step 4: Apply a Base Coat
Never skip the base coat.
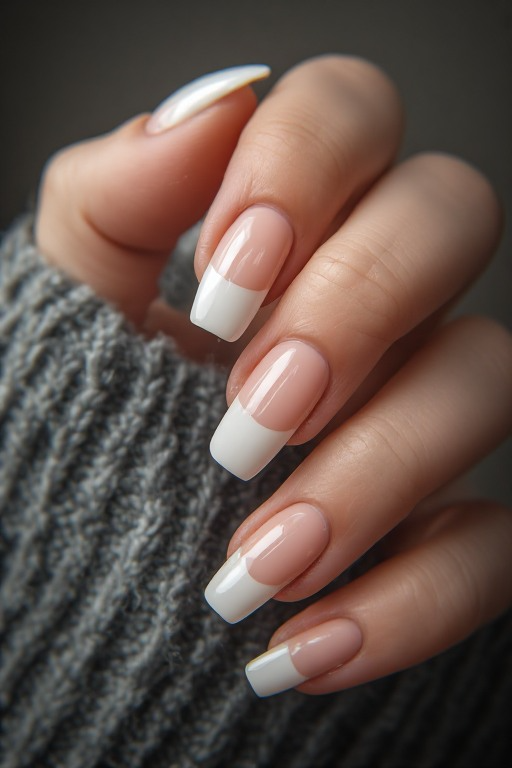
A good base coat:
- Protects your natural nails
- Prevents staining
- Helps polish last longer
- Creates a smooth surface
Apply one thin layer and allow it to dry completely before moving on.
Step 5: Apply Your Nude or Pink Base Color
This is where your French manicure begins to come together.
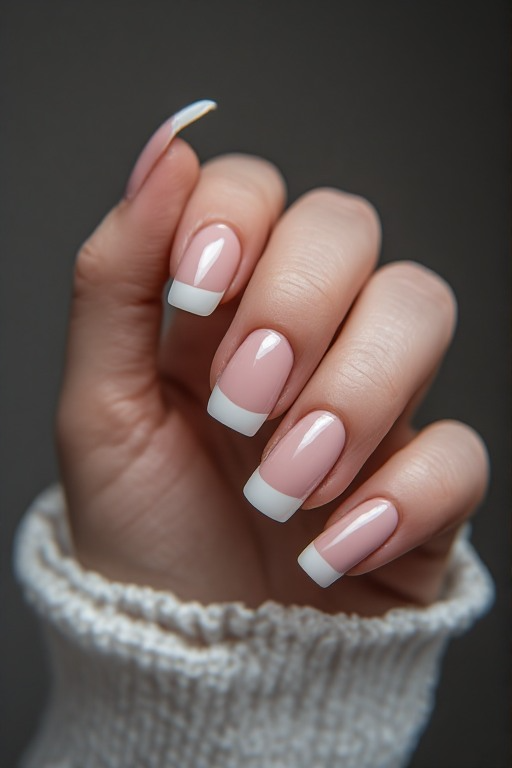
Choose a sheer:
- Soft pink
- Pale nude
- Milky beige
- Neutral blush
Apply one or two thin coats depending on your desired coverage.
The goal is a natural, healthy-looking nail rather than an opaque color.
Allow each coat to dry before applying the next one.
Step 6: Create the White Tips
This is the step that makes many beginners nervous, but don’t worry.
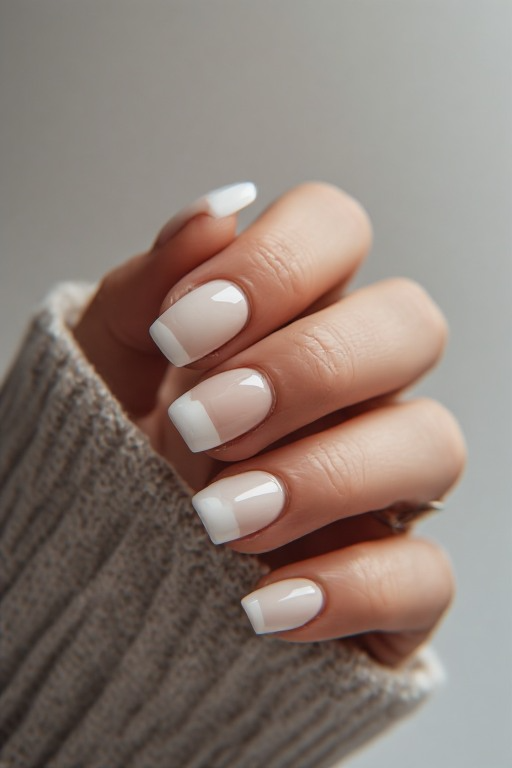
There are several ways to create beautiful French tips.
Method 1: Use French Tip Guides
This is the easiest option for beginners.
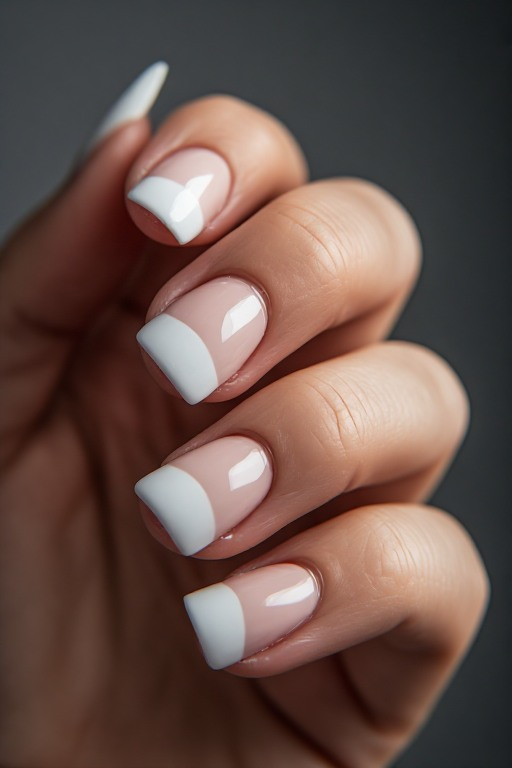
- Let your base color dry completely.
- Place tip guides across each nail.
- Paint the exposed tip white.
- Carefully remove the guides before the polish fully dries.
The result is a clean, sharp line with minimal effort.
Method 2: Freehand the Tips
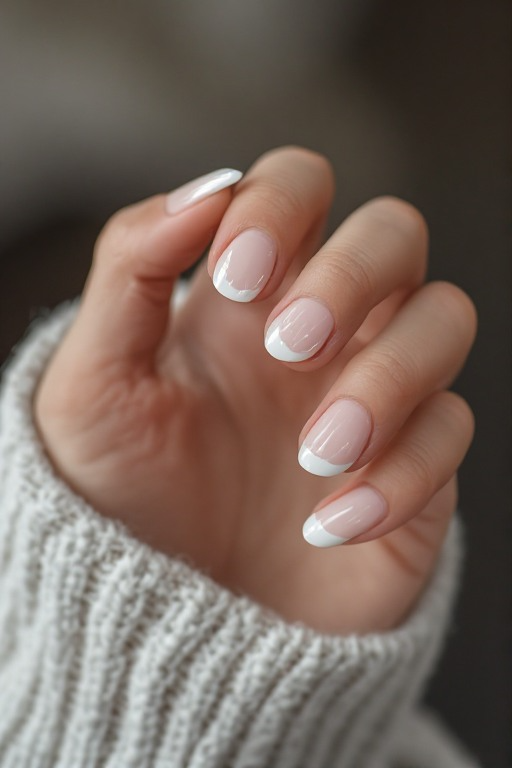
If you have a steady hand, freehanding works great.
Start at one side of the nail and slowly sweep the brush across the tip in a curved smile line.
Don’t worry if it isn’t perfect at first. Practice makes a huge difference.
Method 3: Use a Makeup Sponge
A makeup sponge can help soften imperfections and create smooth edges.
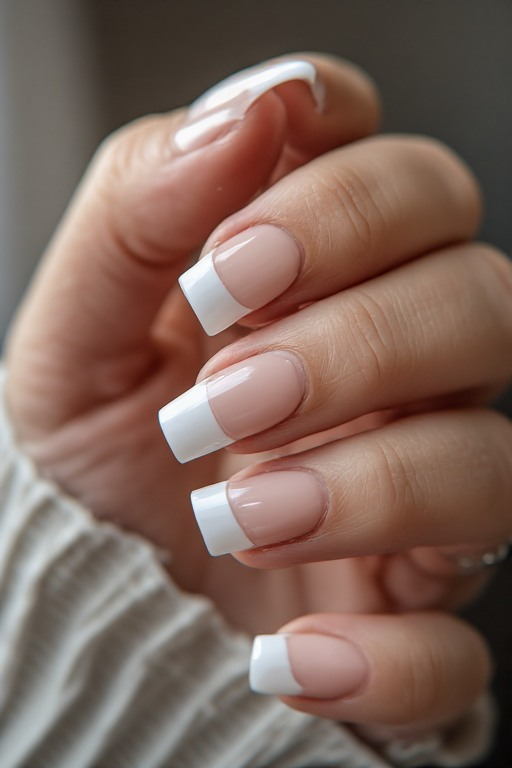
This technique is especially useful for beginners who struggle with straight lines.
Step 7: Clean Up Mistakes
Even professionals make mistakes.
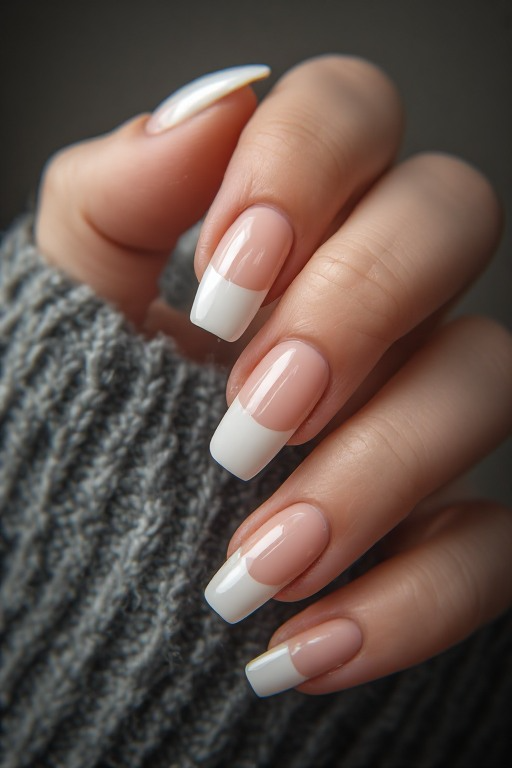
Dip a small cleanup brush into nail polish remover and carefully trace around the edges of your nails.
This instantly makes your manicure look more polished and precise.
Tiny corrections can make a huge difference in the final result.
Step 8: Seal Everything with Top Coat
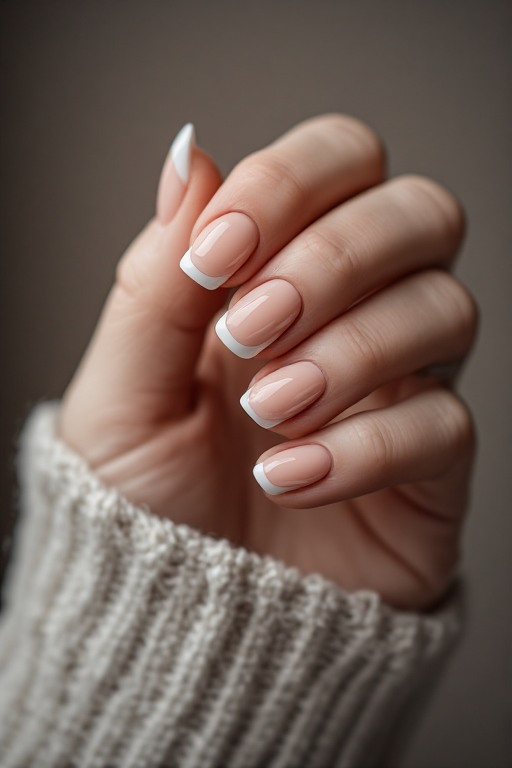
A top coat is the secret to that glossy salon finish.
Benefits include:
- Added shine
- Longer wear time
- Protection against chipping
- Smoother appearance
Apply one generous but even layer across the entire nail.
Be sure to seal the tip of the nail as well. This helps prevent early chips.