
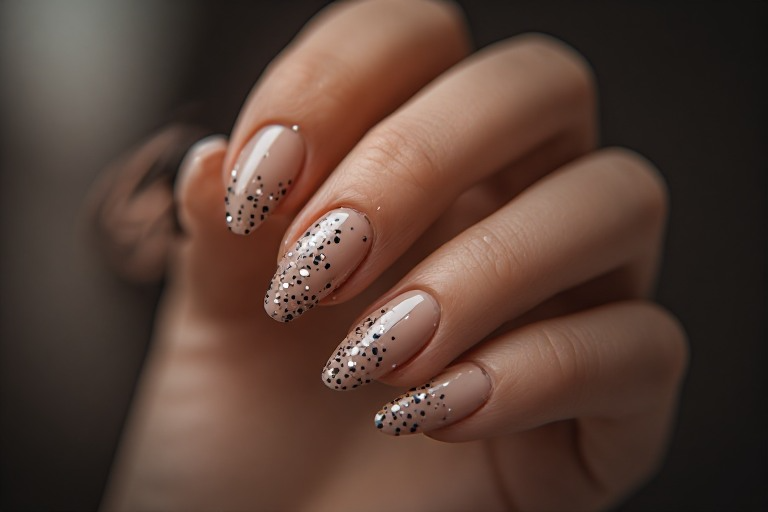
How to Paint Nails Perfectly at Home — Step-by-Step for a Salon-Worthy Finish
Have you ever spent time painting your nails only to end up with streaks, smudges, or chipped polish the next day? You’re definitely not alone. Learning how to paint nails perfectly can feel impossible when your manicure never seems to look as polished as the ones you see on social media.
The good news is that you don’t need expensive salon appointments to get beautiful nails. With the right technique and a few simple tricks, you can achieve a smooth, glossy, professional-looking manicure right from your couch.
If you’ve been wondering how to get flawless nails every time, this step-by-step guide is exactly what you need.
Why Your Nail Polish Doesn’t Look Professional
Before we dive into the tutorial, let’s talk about the most common mistakes that ruin a manicure:
- Skipping nail prep
- Applying thick coats of polish
- Forgetting a base coat
- Not sealing the nail tips
- Rushing drying time
Fixing these small mistakes can completely transform your results.
Step 1: Remove Old Polish Completely
The first step in how to paint nails perfectly is starting with a clean surface.
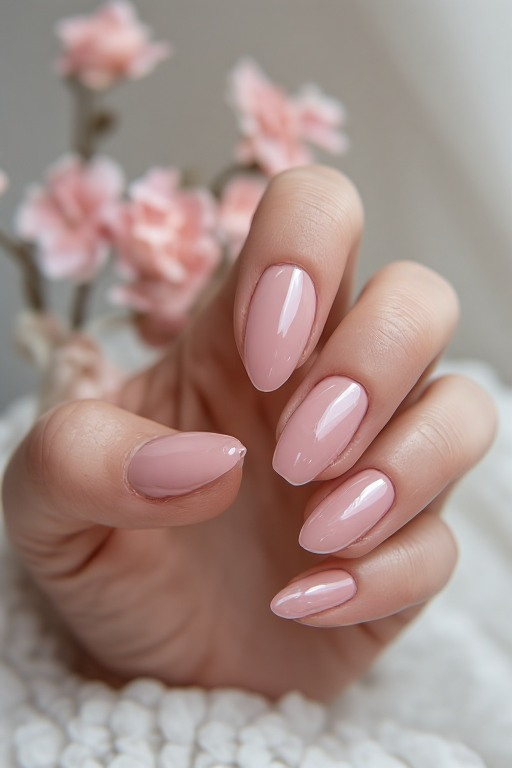
Even if your nails look bare, they may still have oils, residue, or tiny traces of old polish. Use a gentle nail polish remover and wipe each nail thoroughly.
Clean nails help polish stick better and last longer.
Pro Tip
Use a lint-free cotton pad instead of regular cotton balls to avoid fuzz getting stuck in your polish.
Step 2: Shape and File Your Nails
A beautiful manicure starts with well-shaped nails.
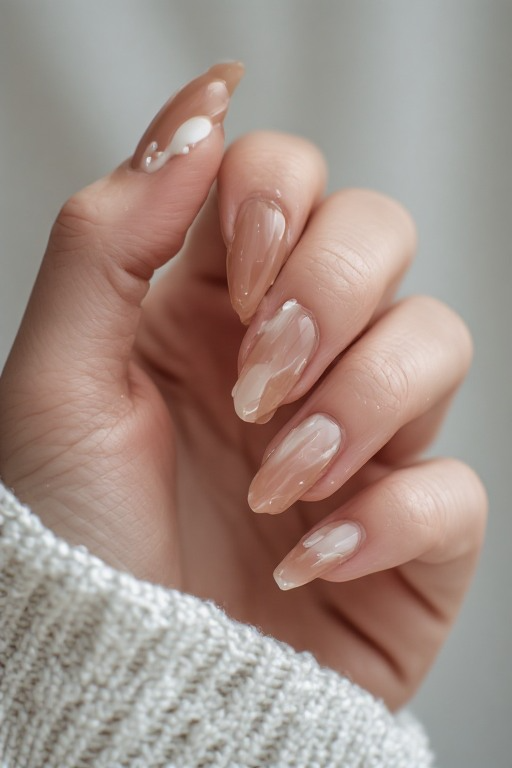
Choose a nail shape that suits your style:
- Round for a natural look
- Square for a modern appearance
- Oval for elegance
- Squoval for a universally flattering shape
Always file in one direction rather than sawing back and forth. This helps prevent splitting and peeling.
Step 3: Push Back Your Cuticles
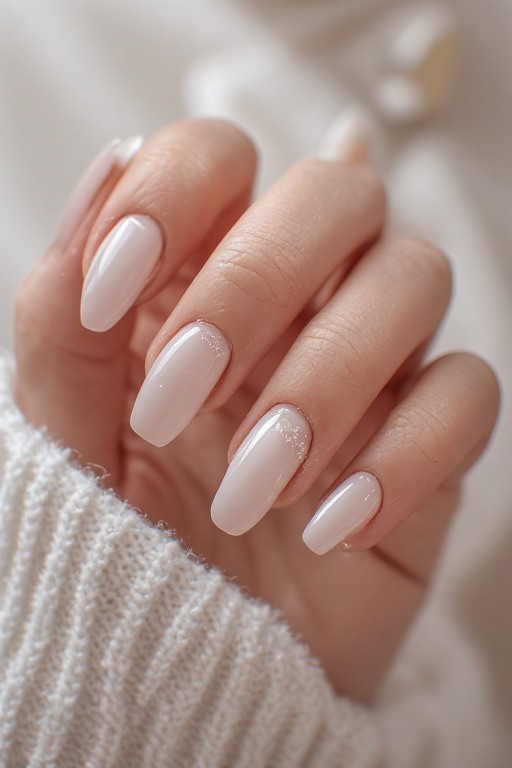
Your manicure instantly looks more professional when your cuticles are neat.
Apply a cuticle remover or soak your fingertips in warm water for a few minutes. Then gently push your cuticles back using a cuticle pusher.
Avoid cutting your cuticles unless necessary, as they help protect your nails from infection.
Step 4: Buff the Nail Surface Lightly
A quick buff can make a huge difference.
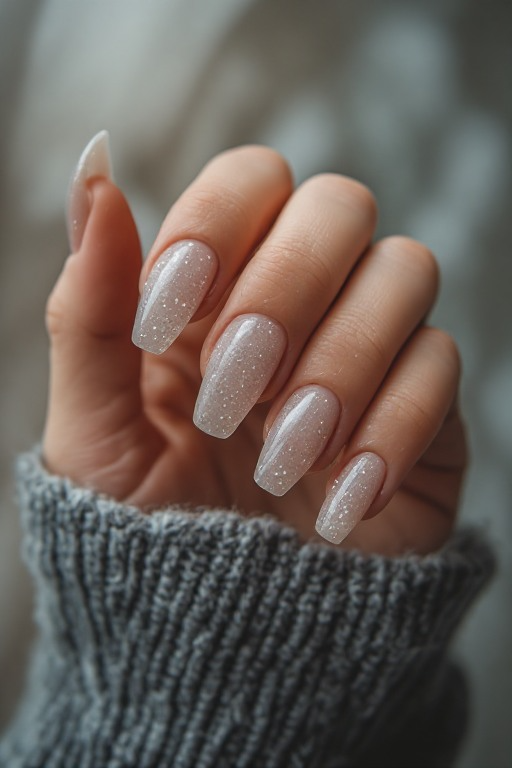
Use a gentle nail buffer to smooth ridges and create an even surface for polish application.
Don’t overdo it. Excessive buffing can weaken your nails over time.
Step 5: Remove Dust and Oil
This is one of the biggest secrets to long-lasting nail polish.
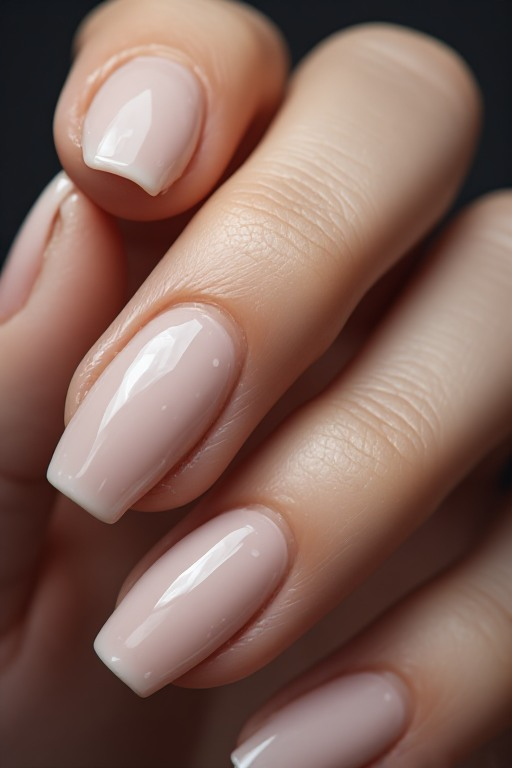
After filing and buffing, wipe your nails with rubbing alcohol or nail cleanser.
This removes:
- Natural oils
- Dust particles
- Hand lotion residue
The cleaner your nail surface, the better your polish will adhere.
Step 6: Apply a Quality Base Coat
Never skip this step.
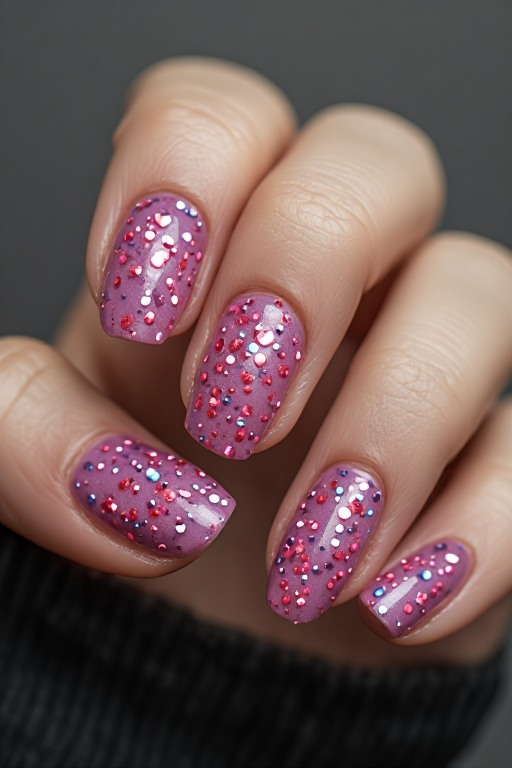
A base coat creates a smooth foundation and helps prevent staining from darker polish colors.
It also helps your manicure last much longer.
Apply one thin layer and allow it to dry for about one minute before moving on.
Why Base Coats Matter
Benefits include:
- Better polish adhesion
- Reduced chipping
- Smoother finish
- Protection against nail discoloration
Step 7: Apply the First Thin Coat of Polish
Now comes the fun part.
When learning how to paint nails perfectly, remember that thin coats always beat thick coats.
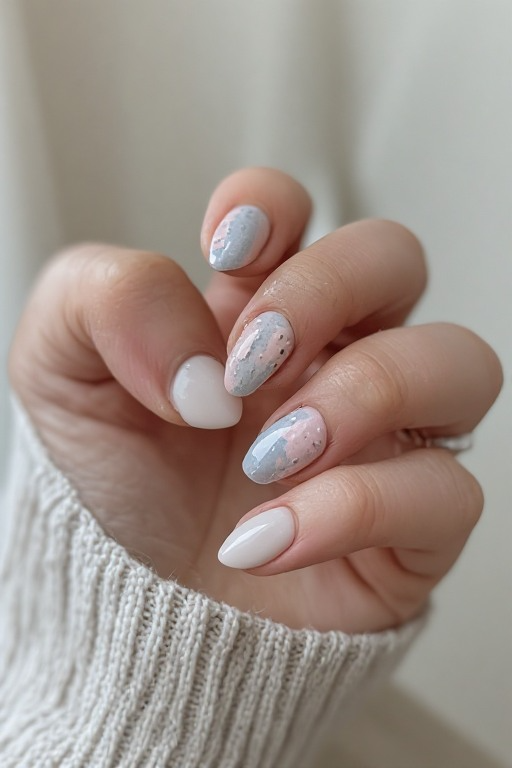
Here’s the easiest technique:
- Dip the brush into the polish.
- Wipe one side of the brush against the bottle neck.
- Place a small bead of polish near the cuticle.
- Push slightly toward the cuticle.
- Pull the brush straight down the center.
- Paint one stroke on each side.
This simple three-stroke method creates the smoothest coverage.
Avoid These Common Mistakes
- Flooding the cuticle area
- Using too much polish
- Going over the same spot repeatedly
Thin and steady wins every time.
Step 8: Let the First Coat Dry
Patience is everything.
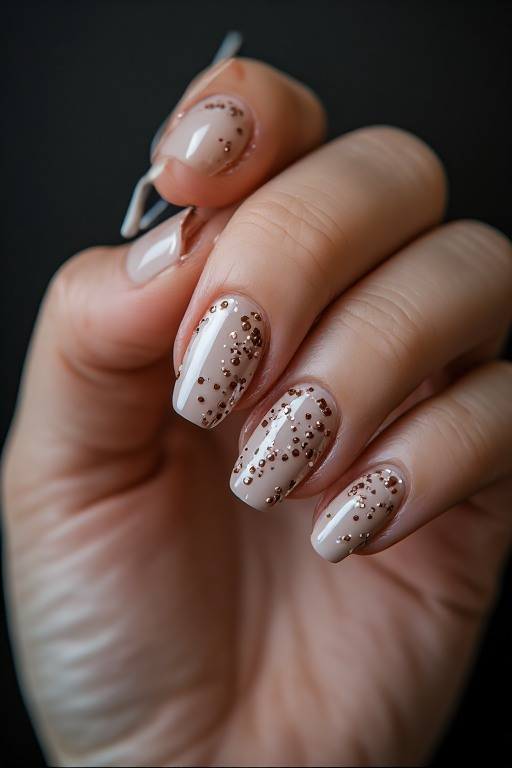
Wait at least two minutes before applying another coat.
Many smudges happen because the second coat is applied too quickly.
Use this time to relax, scroll Pinterest, or pick your next nail design inspiration.
Step 9: Apply a Second Thin Coat
The second coat gives your nails full color payoff and a richer finish.
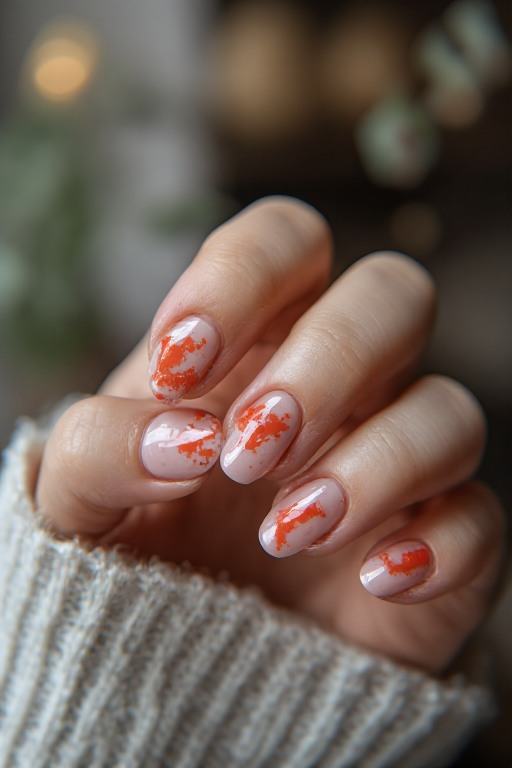
Use the exact same three-stroke technique as before.
At this stage, your nails should look:
- Even
- Glossy
- Smooth
- Fully opaque
If you’re using a sheer polish, you may need a third thin coat.
Step 10: Seal the Nail Tips
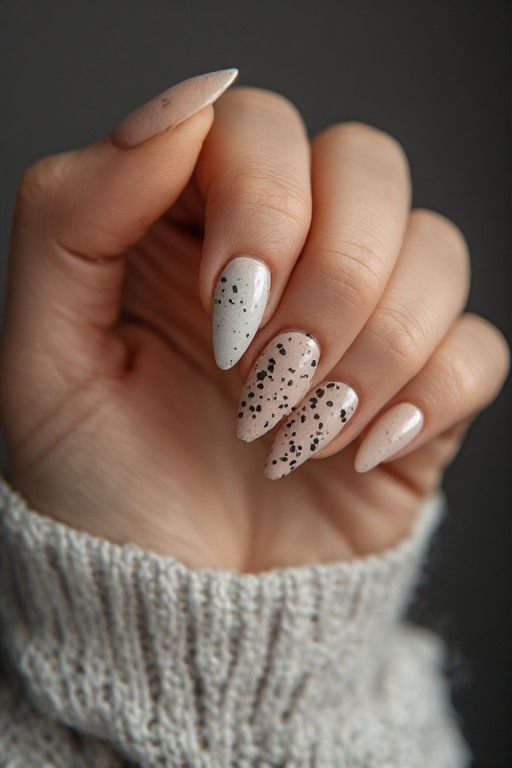
This tiny trick makes a huge difference.
Take a small amount of polish and lightly swipe it across the free edge of your nail.
This technique is called “capping the tip.”