How to Do a Brown Smoky Eye That Looks Soft and Expensive — Step by Step for Beginners
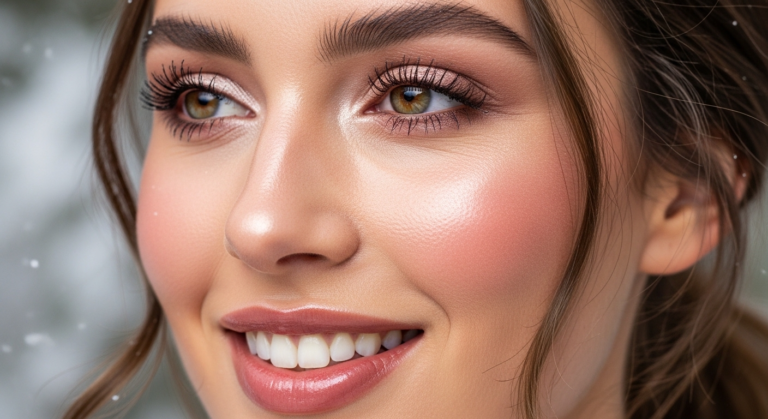
You know that effortless, sultry eye makeup look that somehow works for both daytime coffee runs and date nights? That’s the magic of a brown smoky eye. It’s softer than black, way more wearable, and honestly… so much easier to pull off.
If you’ve ever tried a smoky eye and ended up looking too dramatic (or just messy), you’re not alone. The good news is, this brown smoky eye tutorial is beginner-friendly, super forgiving, and gives you that blended, polished look every single time.
Let’s break it down step by step so you can actually enjoy doing your eye makeup again.
What You’ll Need for This Brown Smoky Eye Tutorial
Before we start, make sure you have the basics. You don’t need anything fancy — just the right essentials.
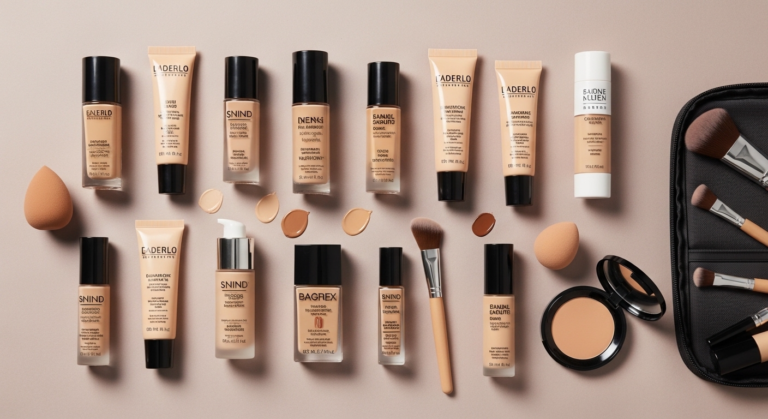
- A neutral eyeshadow palette (light beige, medium brown, dark brown)
- A fluffy blending brush
- A smaller packing brush
- Eyeliner (brown or black)
- Mascara
- Optional: shimmer shadow or highlighter
Using the right tools makes this brown smoky eye tutorial so much easier, especially when it comes to blending.
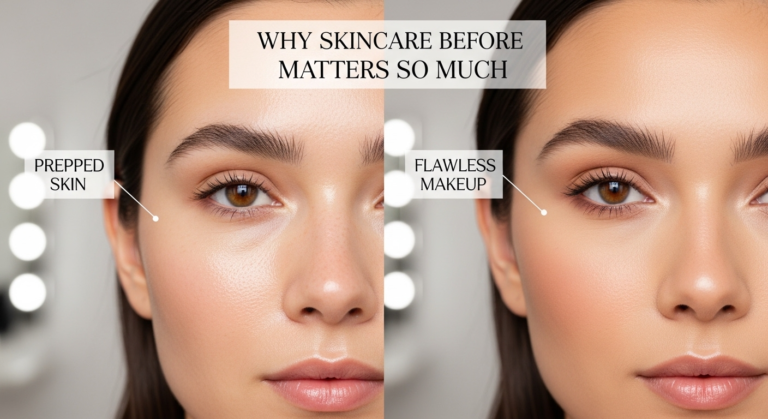
Step 1: Prep Your Eyelids (Don’t Skip This)
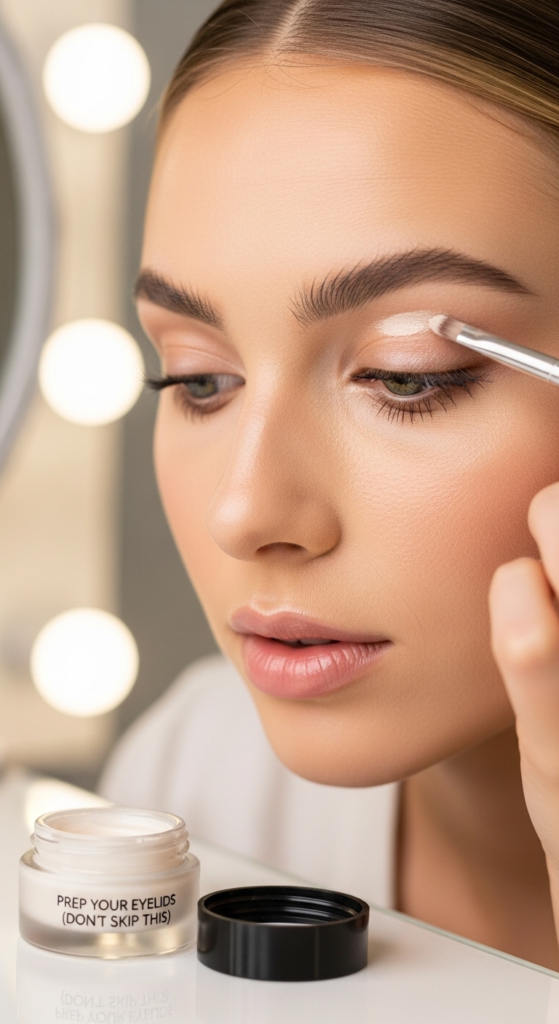
If your eyeshadow always creases or fades, this step is why.
Apply a thin layer of concealer or an eyeshadow primer across your lids. This creates a smooth base and helps your eyeshadow stay put all day.
Set it lightly with powder so everything blends effortlessly.
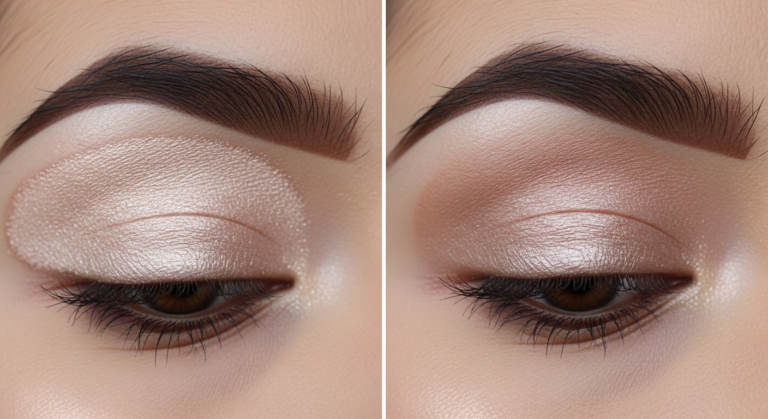
Step 2: Start With a Transition Shade
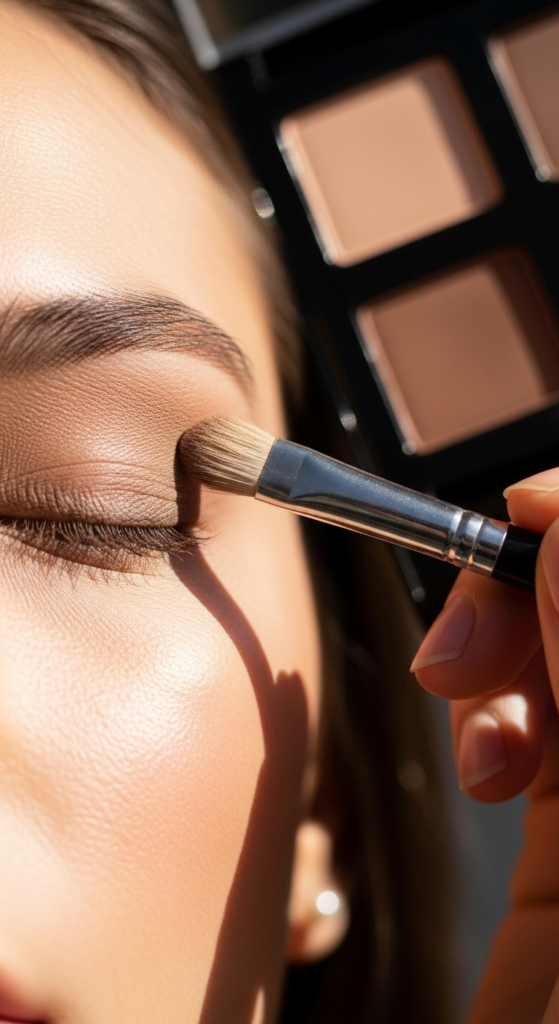
Grab a light to medium brown shade and apply it to your crease using a fluffy brush.
Use soft, back-and-forth motions (like windshield wipers). This creates a base that makes the rest of your blending look seamless instead of patchy.
Step 3: Deepen the Outer Corner
Now take a slightly darker brown and focus it on the outer corner of your eye.
Use small circular motions to blend it into the crease. This adds depth and gives your eyes that lifted, smoky effect without looking harsh.
Step 4: Pack Color Onto the Lid
Using a flat brush, apply a medium brown shade onto your eyelid.
Press the color in instead of sweeping it. This makes the pigment look richer and more even.
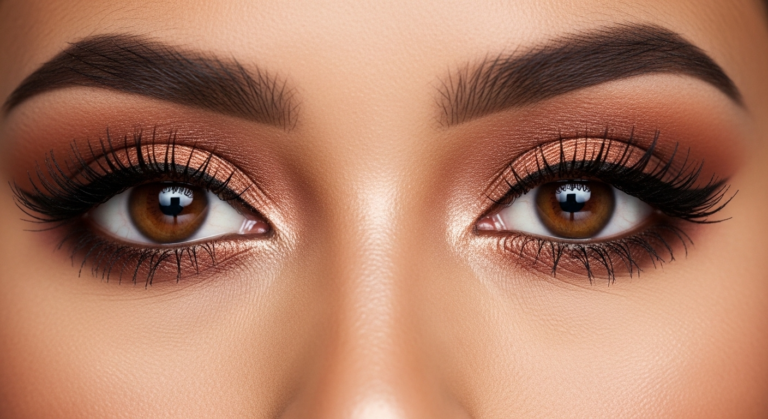
Step 5: Blend, Blend, Blend
This is the secret to a perfect brown smoky eye tutorial.
Go back in with your fluffy brush and gently blend the edges where the colors meet. You don’t want to see harsh lines — everything should look soft and diffused.
Step 6: Add Depth With a Dark Brown
Take your darkest brown shade and apply it very lightly to the outer corner and along the lash line.
This step adds that smoky intensity without making your look too dark. Keep it focused and blend it out well.
Step 7: Smoke Out the Lower Lash Line
Don’t forget your lower lash line — it ties the whole look together.
Use a small brush to apply a medium brown shade under your eyes. Then lightly blend it for a soft, smoky finish.
Step 8: Highlight the Inner Corner

Add a touch of shimmer or a light shade to your inner corners.
This brightens your eyes instantly and gives your makeup that fresh, awake look — even if you didn’t sleep enough.
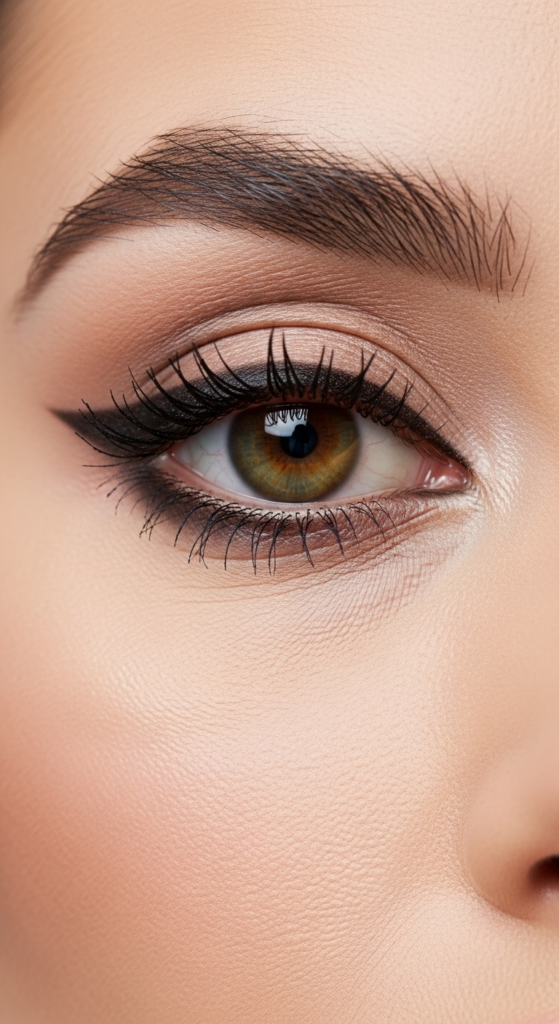
Step 9: Line Your Eyes (Optional but Recommended)

For extra definition, apply a thin line of eyeliner along your upper lash line.
You can smudge it slightly for a softer effect. Brown eyeliner keeps the look natural, while black adds more drama.
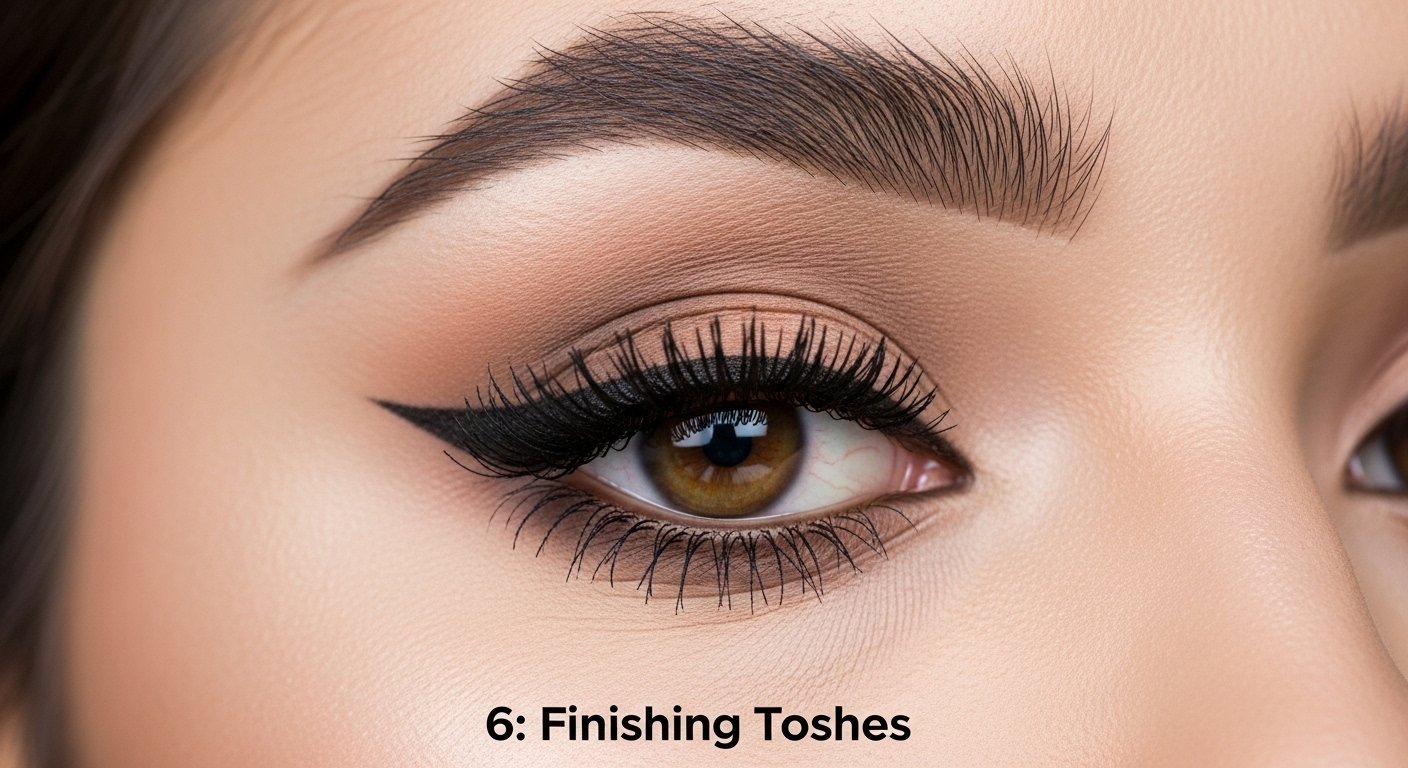
Step 10: Finish With Mascara
Mascara pulls everything together.
Apply 1–2 coats to your upper lashes, and don’t forget a light coat on your lower lashes. This opens up your eyes and completes the smoky effect.