
Heat Protection for Hair — The Exact Routine That Prevents Damage and Keeps Your Hair Silky
If you use a blow dryer, curling iron, straightener, or hot brush regularly, chances are your hair has experienced some level of heat damage. Dry ends, frizz, split ends, and dullness can all happen when your strands aren’t properly protected from high temperatures.
The good news? You don’t have to give up your favorite styling tools. The secret is creating a smart heat protection for hair routine that shields your strands while still helping you achieve those gorgeous salon-worthy styles.
If you’ve been wondering why your hair feels rough or breaks easily after styling, this guide is for you. Let’s talk about exactly how to protect your hair from heat damage and keep it looking healthy, shiny, and beautiful.
Why Heat Protection for Hair Matters
Hair is made up of proteins that can weaken when exposed to excessive heat. When styling tools reach temperatures of 300°F to 450°F, they can strip moisture from your strands and damage the hair cuticle.
Without proper protection, you may notice:
- Increased breakage
- Split ends
- Frizz and flyaways
- Loss of shine
- Dry and brittle hair
- Faded hair color
Using heat protection for hair creates a barrier between your strands and hot tools, helping reduce moisture loss and damage.
Step 1: Start With a Gentle Hair Wash Routine
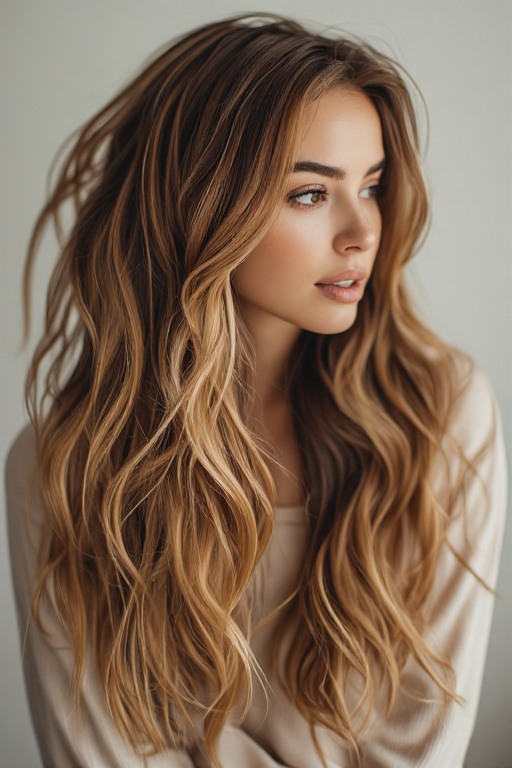
Healthy styling starts in the shower.
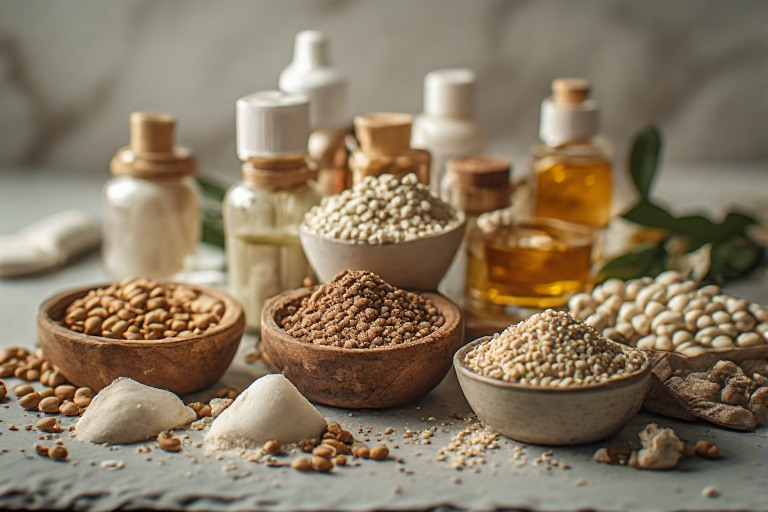
Choose a moisturizing shampoo and conditioner that help strengthen your hair. Hydrated hair naturally handles heat better than dry, damaged strands.
Look for ingredients like:
- Argan oil
- Coconut oil
- Keratin
- Shea butter
- Hyaluronic acid
These ingredients help lock in moisture and prepare your hair for styling.
Step 2: Never Apply Heat to Soaking Wet Hair
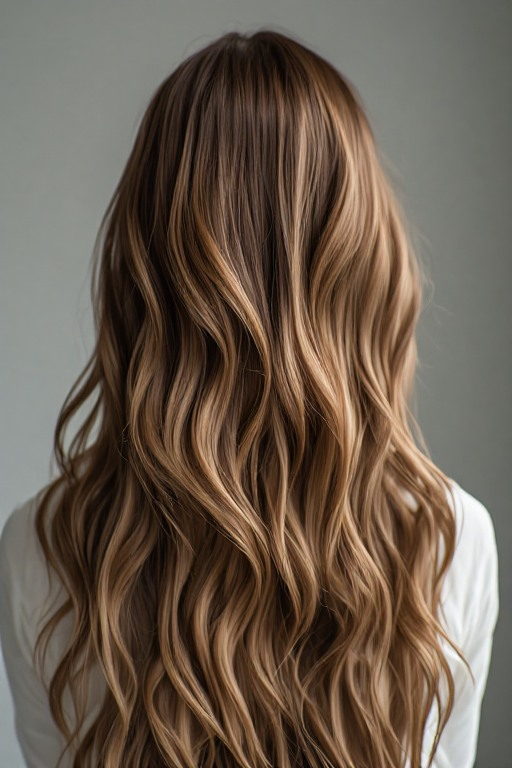
One of the biggest mistakes people make is rushing into styling.
Allow your hair to air dry partially before using a blow dryer. Hair is at its most vulnerable when it’s extremely wet, and excessive heat can cause unnecessary stress on the hair shaft.
Aim for your hair to be about 60–70% dry before reaching for hot tools.
Step 3: Apply a Heat Protectant Correctly
This is the most important step in any heat protection for hair routine.
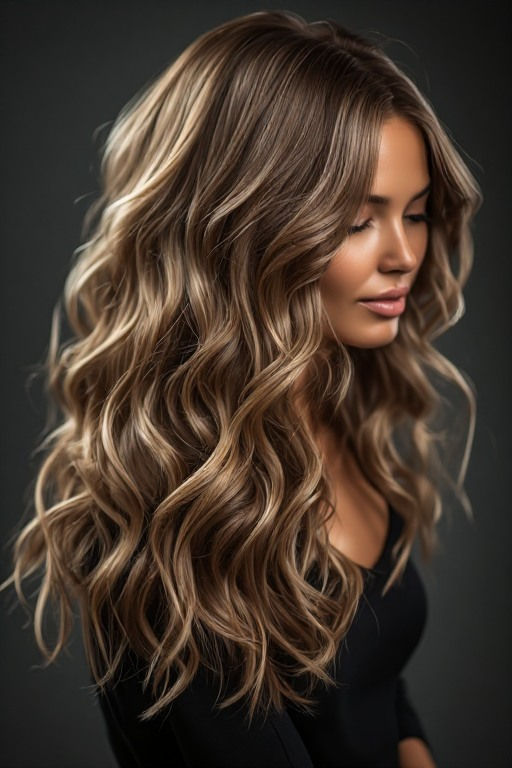
A quality heat protectant coats your strands and helps minimize damage from high temperatures. It can also reduce frizz and add shine.
How to Apply It
- Towel-dry your hair gently.
- Spray or distribute the product evenly.
- Focus on mid-lengths and ends.
- Comb through to ensure full coverage.
- Wait a minute before styling.
Skipping this step is like sitting in the sun without sunscreen.
What Makes a Good Heat Protectant?
Not all products work the same way.
Look for heat protectants that offer:
- Protection up to 450°F
- Frizz control
- Moisture retention
- Lightweight formulas
- Shine-enhancing ingredients
Some products also contain strengthening proteins that help repair existing damage while preventing future breakage.
Step 4: Lower the Temperature Setting
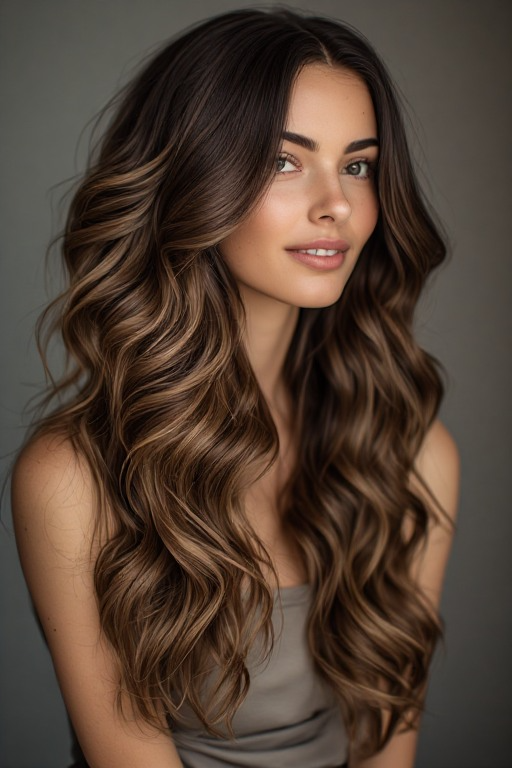
Many people automatically set their styling tools to the highest heat level.
In reality, most hair types don’t need extreme temperatures.
Recommended Heat Settings
Fine Hair
- 250°F–300°F
Medium Hair
- 300°F–375°F
Thick Hair
- 375°F–400°F
Coarse or Textured Hair
- Up to 425°F when necessary
Using lower temperatures can significantly reduce long-term damage while still giving you great results.
Step 5: Limit Heat Styling Days

Even with excellent heat protection for hair, daily heat styling can add up over time.
Try incorporating heat-free hairstyles throughout the week.
Some easy options include:
- Braided waves
- Sleek ponytails
- Claw clip updos
- Low buns
- Overnight curls
- Protective hairstyles
Giving your hair regular breaks helps maintain strength and elasticity.
Step 6: Deep Condition Weekly
Heat styling removes moisture from your strands over time.
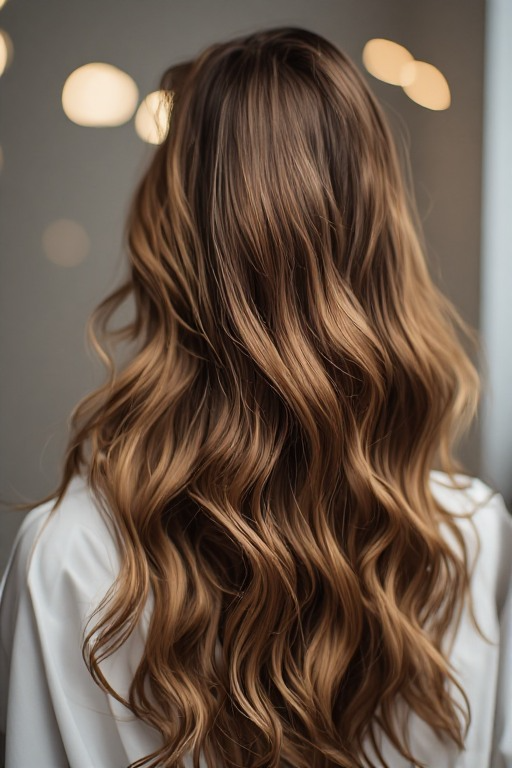
A weekly deep-conditioning treatment helps replenish hydration and keep hair soft and manageable.
Look for hair masks containing:
- Avocado oil
- Keratin
- Argan oil
- Protein complexes
- Shea butter
Just one treatment per week can make a noticeable difference in softness and shine.
Step 7: Use the One-Pass Styling Rule

Repeatedly running a flat iron or curling iron over the same section increases damage dramatically.
Instead:
- Work with smaller sections.
- Move slowly and evenly.
- Try to style each section in one pass.
This simple habit reduces heat exposure while still helping you achieve smooth, polished results.