How to Get a Salon-Worthy Blowout Hairstyle at Home — Step-by-Step Guide for Gorgeous Volume
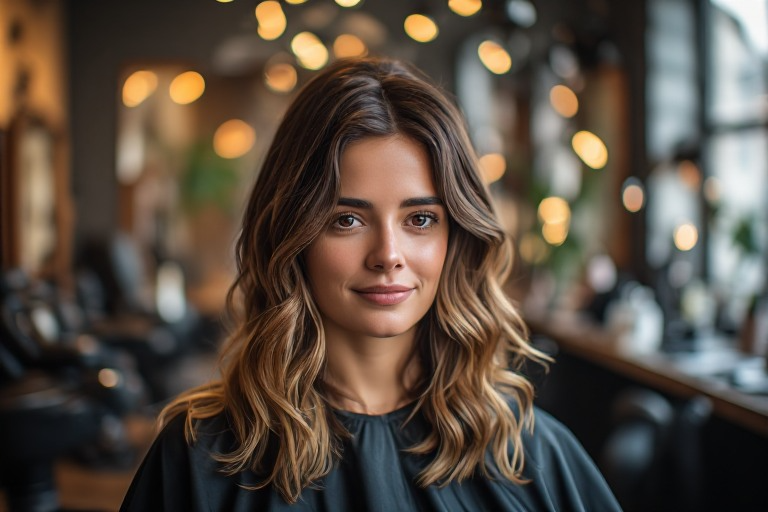
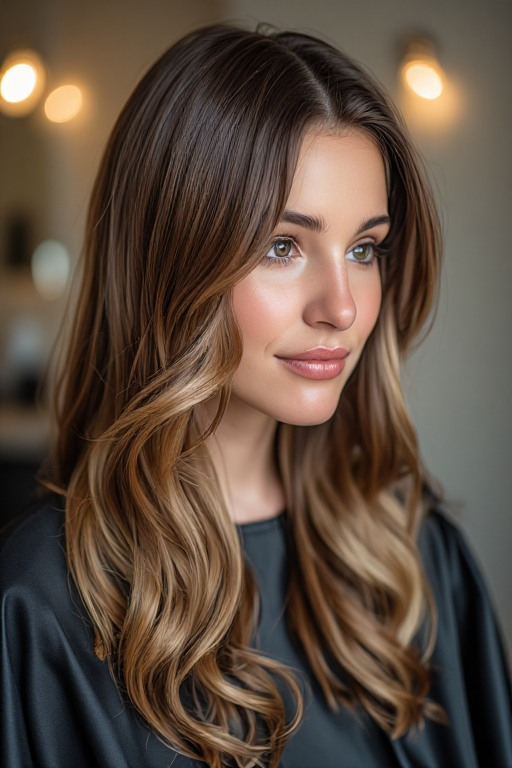
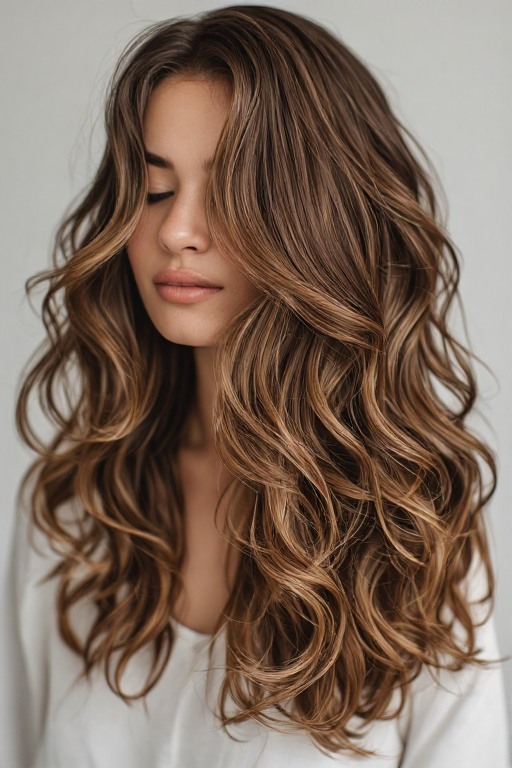
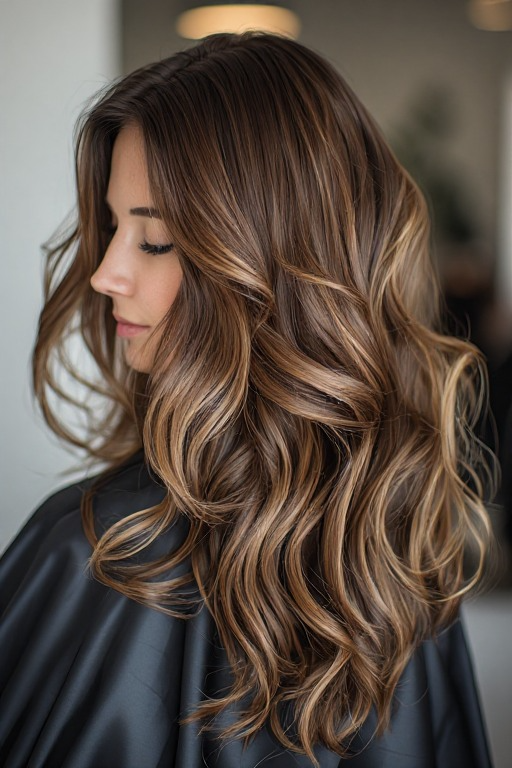
There’s something about a fresh blowout hairstyle at home that instantly makes you feel put together. Your hair looks bouncy, shiny, and full of life, and somehow every outfit looks better when your hair is having a good day.
The problem? Salon blowouts can get expensive fast. The good news is that you can absolutely recreate that smooth, voluminous look in your own bathroom with the right techniques and a little practice.
If you’ve ever wondered how to achieve a gorgeous blowout hairstyle at home without spending hours struggling with a round brush, this guide is for you. Grab your favorite hair products and let’s create that salon-worthy bounce.
Why a Blowout Hairstyle at Home Is Worth Learning
Learning how to do a blowout yourself saves both time and money. Once you master the technique, you’ll have beautiful hair ready for work, date nights, brunches, and special events whenever you want.
A good blowout can also:
- Add volume to flat hair
- Reduce frizz and flyaways
- Create a polished finish
- Make your hair look healthier
- Help styles last for days
Step 1: Start With Clean Hair
The foundation of every amazing blowout is freshly washed hair.
Use a shampoo and conditioner that match your hair type. If your hair tends to fall flat, choose volumizing formulas. If your hair is dry or damaged, opt for moisturizing products that add shine.
Avoid applying heavy conditioners directly to your roots since they can weigh your hair down.
Pro Tip
Rinse your hair with cool water at the end of your shower. This helps smooth the hair cuticle and encourages extra shine.
Step 2: Remove Excess Water Properly
One of the biggest mistakes people make is trying to blow-dry soaking wet hair.
After washing, gently squeeze out excess water with a microfiber towel or a soft cotton T-shirt. This reduces frizz and helps your blowout last longer.
Your hair should be damp, not dripping.
Step 3: Apply Heat Protectant
Never skip this step.
Heat styling without protection can cause dryness, breakage, and split ends over time. A quality heat protectant creates a barrier between your hair and hot tools.
Focus on:
- Mid-lengths
- Ends
- Areas prone to damage
If you want extra volume, apply a lightweight volumizing mousse at the roots.
Step 4: Detangle and Section Your Hair
Before turning on your dryer, gently brush through your hair to remove knots.
Then divide your hair into sections:
- Bottom section
- Middle section
- Crown section
- Front pieces
Using clips to keep sections separated makes the process much easier and helps you achieve more professional-looking results.
Step 5: Rough Dry Your Roots First
Before using a round brush, remove about 70% to 80% of the moisture from your hair.
Flip your head upside down and use your fingers to lift the roots while drying. This creates natural volume and prevents your hair from looking flat.
Your hair should still feel slightly damp when you’re ready to start styling with a brush.
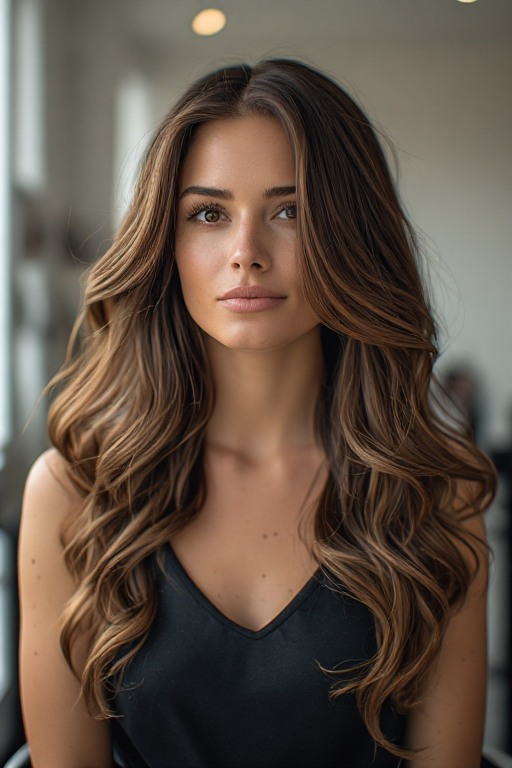
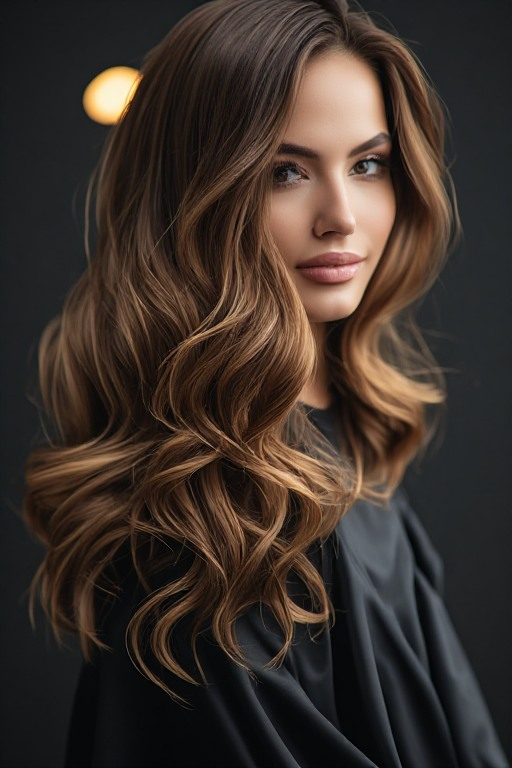
Step 6: Use a Round Brush for Volume
This is where the magic happens.
Take a small section of hair and place the round brush underneath. Pull the brush through while aiming the dryer downward along the hair shaft.
This technique helps:
- Smooth the cuticle
- Reduce frizz
- Add shine
- Create movement
For maximum volume, lift the hair upward away from your scalp while drying.
Best Brush Sizes
- Small brush: Short hair
- Medium brush: Shoulder-length hair
- Large brush: Long hair
Choosing the right brush size makes styling much easier.
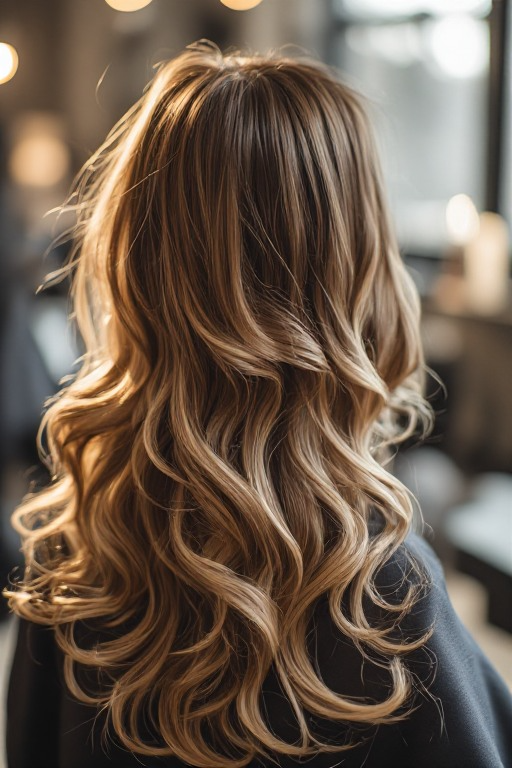
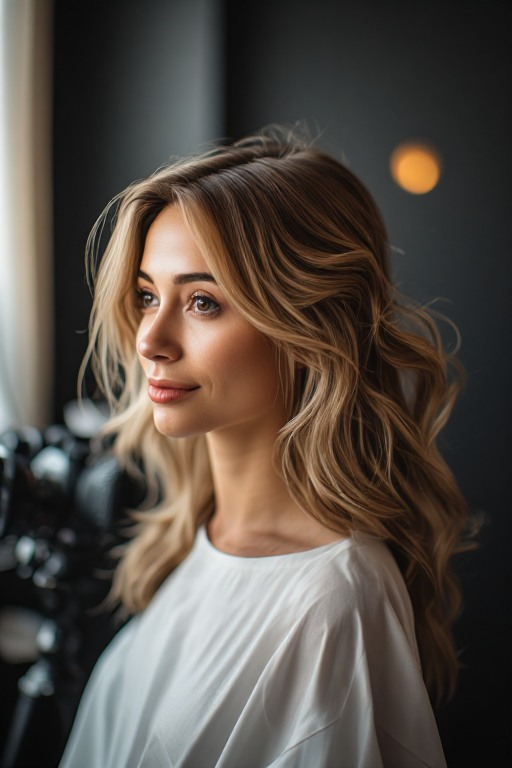
Step 7: Create the Signature Blowout Bounce
Once a section is nearly dry, wrap it around the round brush and apply heat for a few seconds.
Slowly roll the brush upward toward the roots and hold it there.
Then blast the section with cool air before releasing it.
This simple trick helps the hair set in place and creates that beautiful salon-style bounce.
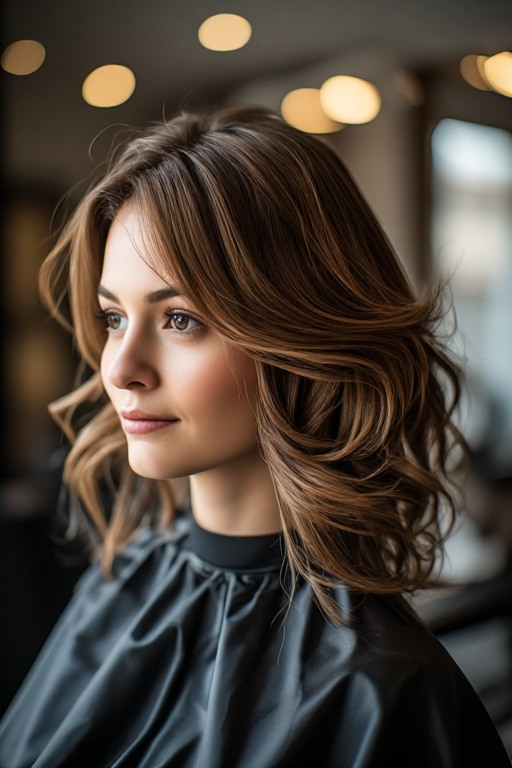
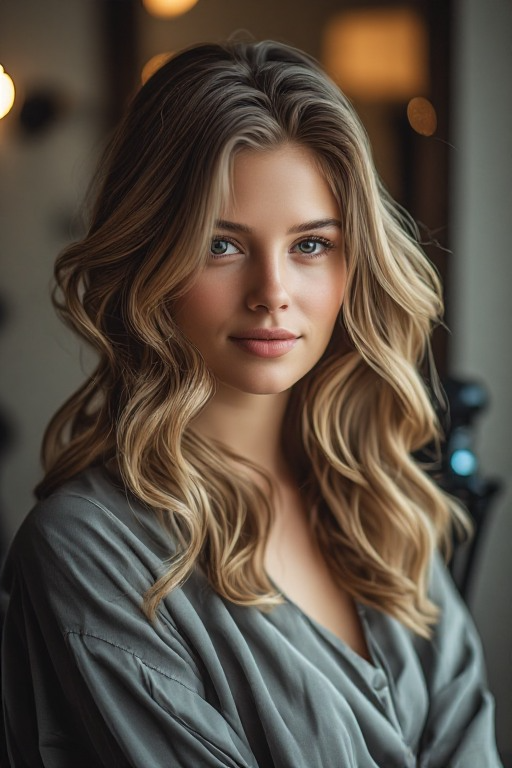
Step 8: Focus on the Front Sections
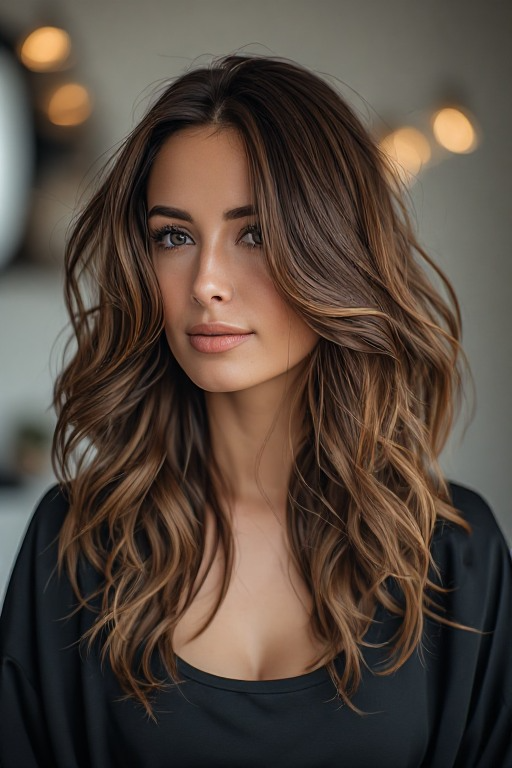
The front pieces frame your face and make the biggest difference in the final look.
Dry these sections away from your face to achieve that glamorous, face-opening effect that professional stylists love.
If you enjoy those trendy curtain-bang styles, this technique creates the perfect swoop.
Step 9: Lock Everything In With Cool Air
After your entire head is dry, switch your dryer to the cool setting.
Run cool air over every section for about one minute.
This step helps:
- Seal the cuticle
- Boost shine
- Extend your blowout
- Reduce frizz
Many people skip this step, but it can make a huge difference in the final result.
Step 10: Finish With Lightweight Styling Products
The right finishing products can take your blowout hairstyle at home from good to amazing.
Consider using: