
How to Remove Gel Nails at Home — Step-by-Step Without Damaging Your Natural Nails
Gel nails look gorgeous, glossy, and chip-resistant, but removing them can feel like a nightmare. If you’ve ever peeled off your gel polish because you were impatient, you already know the damage it can cause. Thin, weak, and peeling nails are often the result of improper removal.
The good news? Learning how to remove gel nails at home is actually easier than you think. With the right tools and a little patience, you can safely remove your gel manicure without wrecking your natural nails.
Here’s the exact step-by-step method that beauty lovers swear by.
What You’ll Need Before You Start
Before removing your gel polish, gather these essentials:
- Nail file
- 100% acetone
- Cotton balls or cotton pads
- Aluminum foil
- Cuticle pusher or orangewood stick
- Nail buffer
- Cuticle oil
- Hand cream
Having everything ready will make the process much smoother and help prevent unnecessary nail damage.
Step 1: File Off the Shiny Top Coat
The first step in how to remove gel nails at home is breaking the protective seal.
Use a nail file to gently remove the shiny top layer of the gel polish. You don’t need to file all the color away. Simply remove the glossy finish so the acetone can penetrate the gel more effectively.
Avoid aggressive filing because you don’t want to thin your natural nails.
Step 2: Soak Cotton Balls in Acetone
Take your cotton balls or pads and soak them thoroughly in pure acetone.
Regular nail polish remover usually isn’t strong enough to break down gel polish. Pure acetone works much faster and delivers better results.
Make sure the cotton is saturated but not dripping excessively.
Step 3: Wrap Each Nail with Foil
Place the acetone-soaked cotton directly on your nail.
Wrap a small piece of aluminum foil around your fingertip to hold the cotton securely in place. Repeat this process on all ten fingers.
This creates heat and helps the acetone dissolve the gel polish more efficiently.
Step 4: Wait 10 to 15 Minutes
This is the hardest part: waiting.
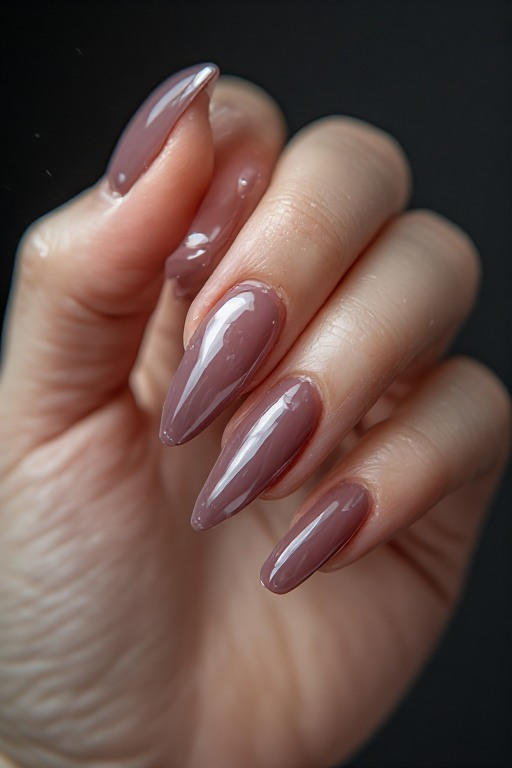
Leave the foil wraps on for at least 10 to 15 minutes. During this time, the acetone will soften the gel and loosen its grip on your nails.
You can watch your favorite show, scroll through Pinterest, or enjoy a quick self-care moment while you wait.
Step 5: Remove the Foil and Check Progress
Unwrap one nail first to test it.
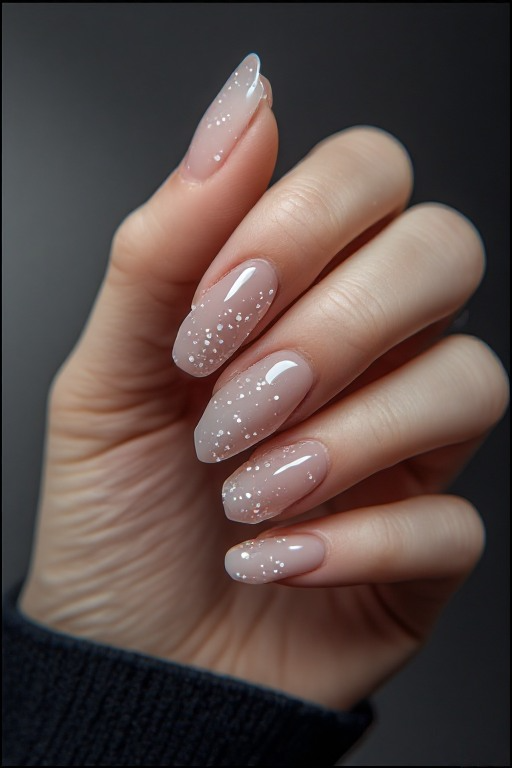
The gel polish should appear lifted, cracked, or flaky. If it still looks firmly attached, rewrap the nail and wait another 5 minutes.
Patience is key when learning how to remove gel nails at home safely.
Step 6: Gently Push Away the Softened Gel
Using a cuticle pusher or orangewood stick, carefully push off the softened gel polish.
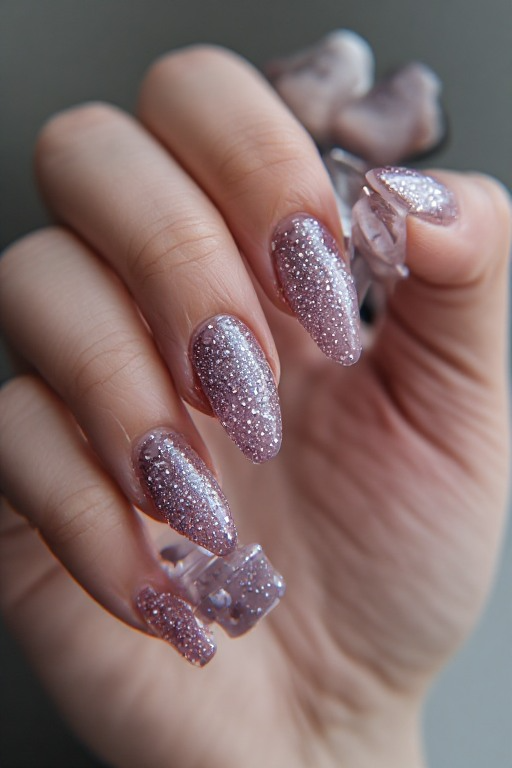
The gel should slide away easily. If you need to scrape aggressively, the gel isn’t ready yet.
Never force stubborn gel off your nails because this can remove layers of your natural nail plate and lead to serious damage.
Step 7: Buff Away Any Leftover Residue
Once most of the gel is removed, use a nail buffer to smooth the nail surface.
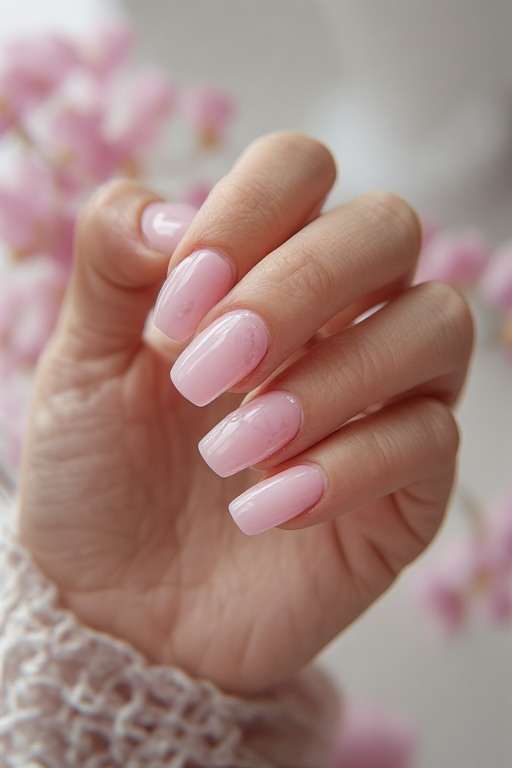
Work gently and avoid over-buffing. The goal is simply to remove any remaining bits of gel and create a smooth finish.
Your nails should feel clean and even after buffing.
Step 8: Hydrate Your Nails Immediately
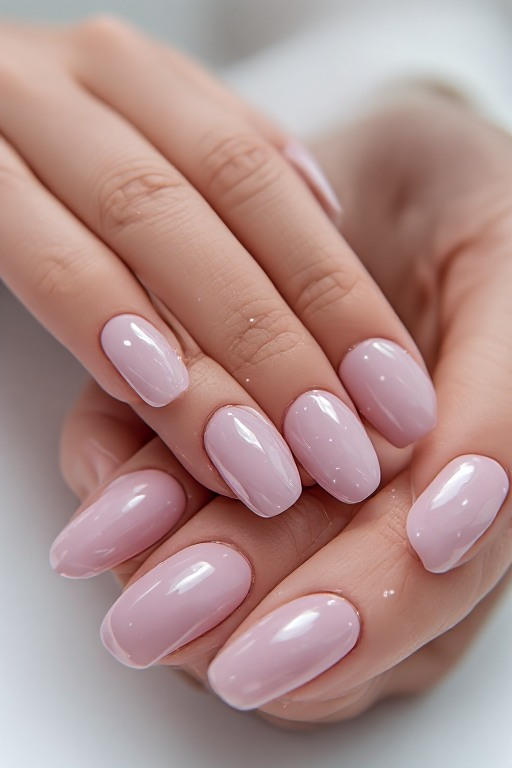
Acetone can leave your nails and skin feeling very dry.
Apply a generous amount of cuticle oil around each nail and massage it in. Follow with a rich hand cream to restore moisture.
This step helps your nails stay healthy and strong after gel removal.